Aqua Bay Scarflet

Best Blog Tips

Materials:
Red Heart worsted weight yarn Turqua (1 skein)
Red Heart worsted weight yarn Aruba Sea (scraps)
Crochet hook size H
Scissors
Blunt needle (to weave in tails)

Note- Ch 3 and ch 4 stand for first stitch of each row.

Lace Edges (Make 2)-
With Aruba Sea, Ch 22.
Row 1- 1 dc in fourth ch from hook and in each ch across. (20 dc) Ch 2, turn.
Row 2- 1 sc in second dc of row, ch 9, skip 8 dc, 1 sc in next dc, ch 9, skip 8 dc, 1 sc in next dc, ch 2, 1 sc in last dc of row. Ch 3, turn.
Row 3- Skip ch 2 and sc as well as first 2 ch of ch-9 sp, 1 dc in each of next 2 ch, ch 2, 1 sc in next ch, 1 dc in each of next 2 ch, skip next sc and first 2 ch of next ch-9 sp, 1 dc in each of next 2 ch, ch 2, 1 sc in next ch, 1 dc in each of next 2 ch, ch 3, 1 sc in last sc of row. Ch 4, turn.
Row 4- 1 dc in each of first 2 dc, ch 5, skip all the way to next dc and make 1 dc in that dc and 1 dc in next dc, ch 1, 1 dc in each of next 2 dc, ch 5, 1 dc in each of next 2 dc, ch 2, sl st in last stitch of row. Ch 4 turn.
Row 5- 1 dc in each of first 2 dc, ch 1, skip first 2 ch of ch-5 sp, 1 dc, ch 1, 1 dc, ch 1, 1 dc, ch 1, 1 dc, skip next 2 ch, 1 dc in each of next 2 dc, ch 1, 1 dc in each of next 2 dc, skip next 2 ch, 1 dc, ch 1, 1 dc, ch 1, 1 dc, in next ch, skip next 2 ch, 1 dc in each of next 2 dc, ch 3, 1 sc in last stitch of row. Ch 3, turn.
Row 6- 1 dc in each of first 2 dc, ch 2, skip first 2 dc in next shell, 1 dc, ch 1, 1 dc, ch 1, 1 dc, ch 1, 1 dc in center ch-sp of shell, ch 1, 2 dc in next ch-sp, ch 1, skip forst 2 dc of next shell, 1 dc, ch 1, 1 dc, ch 1, 1 dc, ch 1, 1 dc in center ch-sp of next shell, ch 1, 1 dc in each of next 2 dc, ch 1, 1 sc in last stitch of row. Ch 3, turn.
Row 7- 1 dc in each of first 2 dc, ch 1, 1 dc, ch 1, 1 dc, ch 1, 1 dc in center ch-sp of shell, ch 1, 1 dc in each of next 2 dc, ch 1, 1 dc, ch 1, 1 dc, ch 1, 1 dc in center ch-sp of shell, ch 1, 1 dc in each of next 2 dc, ch 2, sl st in last stitch of row. Ch 3, turn.
Row 8- Rep row 6.
Row 9- Rep row 6.
Row 10- Rep row 6. Ch 3, turn.
Row 11- 1 dc in each of first 2 dc, ch 1, 8 dc in center ch-sp of next shell, ch 1, 1 dc in each of next 2 dc, ch 1, 8 dc in center ch-sp of next shell, ch 1, 1 dc in each of next 2 dc, ch 2, sl st in last stitch of row. Ch 4, turn.
Row 12- 1 dc in each of first 2 dc, ch 2, skip first 3 dc of large shell, yo, begin 1 dc in next dc, leave unfinished, rep twice more, yo and pull yarn through all loops on hook, cluster made, ch 2, 1 cluster in next dc, ch 3, 1 dc in each of next 2 dc, ch 3, skip first 3 dc of next large shell, 1 cluster in next dc, ch 2, 1 cluster in next dc, ch 2, 1 dc in each of next 2 dc, ch 2, sl st in last stitch of row. Fasten off, weave in tail.


Scarflet-

Side #1-
Working in foundation loops of first dc row, join Turqua and ch 3.
Row 1- Work 1 dc in each of next foundation loops. (20 dc) Ch 4, turn.
Row 2- 1 tr in each dc across. Ch 3, turn. (20 tr)
Rows 3 to 14- Alternate 1 dc row and 1 tr row. Ch 3, turn. (20 sts)
Row 15- 1 dc in each tr across. (20 dc) Fasten off Turqua, weave in tail.

Side #2-
Working in foundation loops of first dc row, join Turqua and ch 3.
Row 1- Work 1 dc in each of next foundation loops. (20 dc) Ch 4, turn.
Row 2- 1 tr in each dc across. (20 tr) Ch 3, turn.
Row 3- 1 dc in each tr across. (20 dc) Ch 4, turn.
Row 4- 1 tr in each of first 5 dc, ch 10, skip 10 dc and work 1 tr in each of last 5 dc. (Keyhole made) Ch 3, turn.
Row 5- 1 dc in each of next 4 tr, 1 dc in each of next 10 ch, 1 dc in each of last 5 tr. Ch 4, turn.
Rows 6 to 14- Alternate 1 tr and 1 dc row.
Row 15- 1 dc in each tr across. Fasten off, leaving long tail to sew with.
Weave in all other tails. Place both pieces together with both right sides facing each other and wrong side facing you. Thread blunt needle with leftover tail and sew both pieces together. Fasten off. Weave in tail.

Tassels- (Optional)
Cut 3 pieces 16 inches long of Aruba Sea and 3 pieces of Turqua of the same size, per tassel. Cut 1 extra piece of the same size in Aruba Sea, per tassel. Fold in half, and insert the bundle of yarn through the center chain space in the 2 center clusters of last row. Tie the bundle with the extra piece of yarn after wrapping it over the bundle near the top several times. Tie a small knot at the back and insert the tails in the blunt needle and drive the tails into the bundle of yarn that forms the tassel. Repeat with all others.
Trim so that all will have the same length.

Done!

Personal Note:
If you have emailed me for something, have patience, I have a LOT on my plate,a nd am trying to get it all done. I will answer you as quickly as I can. Thank you for your patience!

..................


Pathlights
Best Blog Tips

Kirkcaldy's Motif

Best Blog Tips


This is a beautiful but simple motif that could be used for many, many things: Afghans, shawls, wraps, tops, even purses.
Materials:
Red Heart worsted weight yarn any color of your choice (I used Pale Yellow)
Crochet hook size H
Scissors
Blunt needle to weave in ends

With yarn ch 5, sl st to join rnd.
Rnd 1- Ch 3, yo, pull up loop, yarn through as if you were you were going to make a dc, but leave unfinished on hook, rep once more, yo and through all loops on hook. *Ch 4, yo, pull up loop and begin a dc, leave unfinished on hook, repeat twice more,yo and through all loops on hook. (Petal made) rep from * until you have a total of 6 petals made, ch 4, sl st to beg ch-3 to join rnd.

Rnd 2- Sl st till you reach first ch-4 space, ch 3, 2 dc in ch, ch 3, 3 dc in ch, ch 2, **3 dc, ch 3, 3 dc in next ch-4 sp, ch 2, rep from **till end of rnd. Ch 2, join rnd.

Fasten off, weave in ends.

Done!

..................................


Do you know someone who's unemployed? Share these encouraging promises with them!
Bible Promises for the Unemployed1
Best Blog Tips

Braided Scarflet

Best Blog Tips

Materials:

Red Heart worsted weight yarn Coffee (1 skein)
Red Heart worsted weight yarn Black (scraps)
Red Heart worsted weight yarn Carrot (scraps)
Red Heart worsted weight yarn Cafe (scraps)
Red Heart worsted weight yarn Buff (scraps)
Red Heart worsted weight yarn Warm Brown (scraps)
Red Heart worsted weight yarn Cherrycola (variegated) (1 skein)
Crochet hook size H
1 large safety pins
Scissors
Blunt needle (to weave in ends)
Measuring tape


Scarflet Back-
With Coffee, ch 20.
Row 1- 1 dc in 4th ch from hook and in each ch across. Ch 3, turn. (18 dc)
Row 2- 1 dc in each dc across. Ch 3, turn.(18 dc)
Rows 3 to 23- Rep row 2. Ch 3, turn.(18 dc)
Row 24- 1 dc in each dc across.Ch 3, turn. (18 dc)
Braid Portion-
Strand No. 1-

Row 1- With Coffee, work 1 dc in each of next 2 dc. Ch 3, turn (counts as 1s dc of next row).
Row 2- 1 dc in each of next 2 dc. Ch 3, turn.
Row 3- (You will be working on these 3 sts only until you complete this strip for the braid) 1 dc in each of next 2 dc. Ch 3, turn.
Rows 4 to 22- 1 dc in each of next 2 dc, Ch 3, turn.
Row 23-1 dc in each of next 2 dc. Fasten off Coffee.DO NOT weave in tail.
Strand No. 2-
Braid Portion-

With Carrot, repeat rows 1 to 23 as for Strand No. 1. Fasten off but DO NOT weave in end.
Strand No. 3-
Braid Portion-
With Black, repeat rows 1 to 23 as for Strand No. 1.Fasten off but DO NOT weave in tail.
Strand No. 4-
Braid Portion-
With Cafe, repeat rows 1 to 23 as for Strand No. 1. Fasten off but DO NOT weave in end.
Strand No. 5-
Braid Portion-
With Buff, repeat rows 1 to 23 as for Strand No. 1. Fasten off but DO NOT weave in tail.
Strand No. 6-
Braid Portion-
With Warm Brown, repeat rows 1 to 23 as for Strand No. 1. Fasten off but DO NOT weave in end.
Repeat all these strand on opposite end of scarflet.

Braiding- (DO NOT BRAID TIGHTLY!)
1- Cross Black strand over Cafe strand.
2- Cross Buff over Black and Cafe over Carrot strand.
3- Cross Carrot over Buff strand.
4- Cross Black over Warm Brown and Coffee over Cafe.
5- Cross Coffee over Warm brown, Cafe over Buff and Carrot over Black.
Secure the strands in this position with a safety pin so that the braid will not come unravel.

Repeat these steps on the opposite side of the scarflet. Do not worry if some of the strands are longer and others shorter, we will take care of that. Put a safety pin on this side also. Set aside scarflet for a little bit.

Gathering strap:
With Cherrrycola, ch 5.
Row 1- 1 sc in 2nd ch from hook and in ach ch across. Ch 1, turn. (4 sc)
Row 2- 1 sc in each sc across. Ch 1, turn. (4 sc)
Rows 3 to 29- Rep row 2. (4 sc)
Row 30- 1 sc in each sc across. (4 sc.) Fasten off Cherrycola, leaving long tail to sew with.

Now, unravel the portion of any strand that is longer than the others until it matches the same size left over on the
shortest strand. Fasten off and weave in tail in all strands. Measure their length with a measuring tape is you need to.
(In my case, all my strands were 3-1/2" long.)

Rings- With CherryCola, Ch 5. Slip st to join rnd.
Rnd 1- Ch 2, make 11 hdc in ring. Sl st to join rnd. Fasten off, leaving long tail to sew with.

Back Securing Strap-
With Cherrycola, chain 11.
Row 1- 1 sc in 3rd ch from hook and in each ch across. Fasten off. Sew this small strap to the back of the end of the scarflet that is opposite
to the one that has the Gathering Strap, to help to secure the end of the braided section iwth more safety, so that with use, it will not fall apart.
With small, fir firm stitches, which are as invisible as possible, secure the braid to its current position before you take off the safety pin.
As you sew, intertwine the ends as naturally as they seem to you, without twisting them. With tiny stitches, sew the sides of the strands to one another to keep them together.
Make sure your stitches are firm but as invisible as possible! Fasten off and weave in ends. (10 sc)

Match strands of this side of the scarflet to each other and to the size of the ones on the opposite side. (Use measuring tape to make sure.)
Sew the woven sides to each other as you did on the other side. Both sides will be slightly different, but that's the joy of handmade things!
Make the rings and attach them as seen in photos. Fasten off, weave in tails.

Done!

Do you know someone who's unemployed? Share these encouraging promises with them!
Bible Promises for the Unemployed1
Best Blog Tips

Sampler Scarflet ---Part 2

Best Blog Tips

At the beginning I thought to make this a sampler of hook-knit stitches, but then I thought that some of you might not be interested in learning hook-knitting and yet would like to make this scarflet, so I decided to combine hook-knitted stitches with compatible crocheted stitches to give an opportunity to those crocheters that would like to stick to the usual use of their hooks. So, to make this scarflet in crochet only, you will continue in the crochet stitch, skipping the hook-knit section, until you reach the next crochet stitch, and thus you will be able to complete the scarflet. If you would like to make them both ways, go ahead! Anyone who loves freeform crochet and textured projects will love this one.
Materials:
Red Heart worsted weight yarn Bright Yellow (scraps)
Red Heart worsted weight yarn Bikini (variegated) (scraps)
Red Heart worsted weight yarn Pretty ‘N Pink (scraps)
Red Heart worsted weight yarn Pumpkin (scraps)
Red Heart worsted weight yarn Turqua (scraps)
Crochet hook size H
1 pair knitting needles size 5
Scissors

Stitch No. 3
Row 15- Join Pumpkin, work 1 sc in each stitch across. Ch 1, turn (counts as first sc).
Row 16- Skip next sc, 2 sc in next sc, *skip next sc, 2 sc in next sc, rep from * across. Ch 1, turn. Row 17- Skip next sc, 2 sc in next sc, *skip next sc, 2 sc in next sc, rep from * across. Ch 1, turn. Rows 18 to 27- Rep row 17. Ch 1, turn.
Row 28- Skip next sc, 2 sc in next sc, *skip next sc, 2 sc in next sc, rep from * across. Fasten off Pumpkin, weave in tail. (24 sts)
Stitch No. 4 (Some call this stitch Basketweave)
With right side facing, join Turqua. Insert hook into first stitch of Pumpkin fabric and pull up a loop, place loop in knitting needle, repeat across. (24 loops in knitting needle) Turn work around. Row 29- Purl in every stitch across as taught in previous tutorial. (24 sts)
Row 30- knit 1 (see previous tutorial on how to do it), bring yarn forward, and while keeping the yarn forwad, insert hook into next loop, lift that loop, unworked, from one knitting needle to the next and insert it into the other knitting needle (slip stitch done), slip next stitch, *knit 2, yarn in front, slip 2, repeat from * across. Knit last stitch of row. Turn.
Row 31- Purl in each stitch across. (24 sts)
Row 32- knit 1 in each of first 3 stitches, yarn in front, slip 2, *knit 1 in each of next 2 sts, yarn in front, slip 2, rep from * across. Knit 1 in each of last 3 stitches. DO NOT WORK TOO TIGHTLY!
Row 33- Purl in each stitch across. (24 sts)
Row 34- Knit 1, bring yarn forward, slip next 2 sts, *knit 1 in each of next 2 sts, bring yarn in front, slip next 2 sts, rep from *across. Knit last stitch of row. Turn.
Row 35- Purl in each stitch across. (24 sts)
Row 36- knit 1 in each of first 3 stitches, yarn in front, slip 2, *knit 1 in each of next 2 sts, yarn in front, slip 2, rep from * across. Knit 1 in each of last 3 stitches. Turn.
Row 37- Purl in each stitch across. (24 sts)
Row 38- Bring yarn forward, slip first 2 sts, knit 1 in each of next 2 sts, yarn in front, slip next 2 sts **knit 1 in each of next 2 sts, yarn in front, slip 2, rep from * across. Knit 1 in last 2 sts to end row. Turn.
Row 39- Purl in each stitch across. (24 sts)
Row 40- knit 1, yarn to front, slip next 2 sts, *knit 1 in next 2 sts, yarn in front, slip 2 sts, rep from * across. End row by knitting last st. Turn.
Row 41- Purl in each stitch across. (24 sts)
Row 42- knit 1 in each of first 3 sts, yarn in front, slip next 2 sts, *knit 1 in next 2 sts, yarn in front, slip next 2 sts, rep from * across. End row by making 1 knit st in each of last 3 sts.
Row 43- Purl in each stitch across. (24 sts)
Row 44- Knit 1 in each of first 2 sts, yarn in front, slip next 2 sts, *knit 1 in each of next 2 sts, yarn in front, slip next 2 sts, rep from * across.
Row 45- Purl in each stitch across. (24 sts)
Row 46- Yarn in front, slip first 2 sts, knit 1 in each of next 2 sts, *yarn in front, slip next 2 sts, knit 1 in each of next 2 sts, rep from * across. Knit last 2 sts.
Row 47- Purl in each stitch across. (24 sts)
Row 48- Knit 1 in each stitch across. (24 sts) Cast off as taught in previous tutorial. Fasten off Turqua, weave in ends.
Join Bright Yellow.
For Stitch No. 4 Rep Stitch No. 2-
Row 49- Working on the chains formed when you did the cast off, make 1 sc in each stitch across. (24 sc) Ch 2, turn (counts as 1 sc plus 1 ch).
Row 50- (Right Side) Skip second sc, *1 sc in next sc, ch 1, skip next sc, 1 sc in next sc, rep from *across. End row with 1 sc in last sc. Ch 2, turn.
Row 51- 1 sc in first ch-1 sp, ch 1, sc in next ch-sp, ch 1, *1 sc in next ch-sp, ch 1, rep from * across, 1 sc in top of turning ch.
Rows 52 to 71- Rep row 51. Ch 2, turn.
Row 72- Skip 1st sc, 1 sc in next ch-1 sp, ch 1, skip next sc, *1 sc in next ch 1, sp, ch 1, skip next sc, rep from * across. Fasten off Bright Yellow and weave in ends.
Stitch No. 5-
Row 73- (Working on Right Side) Join Bikini (variegated yarn). Ch 1. Work 1 sc in each sc and in each ch-1 sp across. (24 sc)
Row 74- (Working on the Wrong Side) Skip next sc, yo, insert hook into next sc and pull up a loop, yo, insert hook into next sc and pull up a loop, yo and pass yarn though all 5 loops on hook, secure stitch with a slip stitch, ch 1 (loop stitch made), skip 1 sc, rep loop stitch, *skip next sc, rep loop stitch, rep from * across. Do not skip stitch at end of row, but make last loop st over last 2 sc. Ch 1, turn. (24 sts)
Row 75- 1 sc in top of first loop stitch, 2 sc in next ch-sp, *1 sc in top of next loop stitch, 2 sc in next ch-sp, rep from * across. Ch 1, turn. (24 sts)
Row 76- (Working on the Wrong Side) Skip next sc, yo, insert hook into next sc and pull up a loop, yo, insert hook into next sc and pull up a loop, yo and pass yarn though all 5 loops on hook, secure stitch with a slip stitch, ch 1 (loop stitch made), skip 1 sc, rep loop stitch, *skip next sc, rep loop stitch, rep from * across. Do not skip stitch at end of row, but make last loop st over last 2 sc. Ch 1, turn. (24 sts)
Row 77- 1 sc in top of each loop st and 2 sc in each ch-sp across. (24 sts)
Rows 78 to 81- Alternate these two rows for pattern. Fasten off Bikini, weave in tails.
Stitch No. 6-
Row 82-
Join Pretty ‘N Pink. Ch 1, 1 sc in next sc, 1 dc in back loop of same stitch where you made sc, skip 1 sc, *1 sc in next sc, 1 dc in back loop of same stitch where you made sc, skip 1 sc, rep from * across. Ch 1, turn. (24 sts)
Row 83- Skip first sc, 1 sc and 1 dc in next dc, *skip next sc, 1 sc and 1 dc in next dc, rep from * across. In last sc work 1 dc and 1 sc (inverting the previous stitch.) Ch 1, turn. (24 sts)
Row 84- 1 sc in next sc, 1 dc in back loop of same stitch where you made sc, skip 1 sc, *1 sc in next sc, 1 dc in back loop of same stitch where you made sc, skip 1 sc, rep from * across. Ch 1, turn. (24 sts)
Row 85 to 86- Rep rows 83 and 84. Ch 1, turn.
Row 87- Rep row 84. Fasten off, weave in tails.
Join Turqua.
For Stitch No. 7 Rep Stitch No. 2-
Rows 85 to 105- Proceed as you did for Stitch No. 2. Ch 2, turn.
Row 106- Skip first sc, 1 sc in next ch-sp, ch 1, *skip next sc, 1 sc in next ch sp, rep from * across. Fasten off Turqua, weave in ends.
Set scarflet aside for a little bit.
Triangle Edges- (Make 2)
With Bikini, Ch 4, sl st to join rnd.
Rnd 1- Ch 3, 2 dc in chain, ch 2, 3 dc in chain, ch 4, turn.
Rnd 2- 2 dc in fourth ch from hook, ch 2, 3 dc, ch 2, 3 dc in next ch-2 sp, ch 2, 3 dc in last dc of row. Ch 4, turn.
Rnd 3- 2 dc in fourth ch from hook, ch 2, 3 dc, ch 2, 3 dc in next ch-2 sp, ch 2, 3 dc, ch 2, 3 dc in ch-sp of central ch, ch 2, 3 dc in next ch-sp, 3 dc in last dc of row. Ch 4, turn.
Rnd 4- 2 dc in fourth ch from hook, ch 2, 3 dc, ch 2, 3 dc in next ch-2 sp, ch 2, 3 dc, ch 2, 3 dc in next ch-2 sp, ch 2, 3 dc, ch 2, 3 dc in ch-sp of central shell, ch 2, 3 dc in next ch-sp, ch 2, 3 dc in next ch sp, ch 2, 3 dc in last stitch of row. Fasten off, leaving long tail to sew with.
Thread blunt needle with leftover tail of triangle. Sew one triangle to each end of scarflet. Fasten off, weave in ends.
Gathering Strap-
With Bikini, ch 9.
Row 1- 1 dc in fourth ch from hook and in each ch across. (7 dc) Ch 4, turn.
Row 2- Skip next 2 dc, 1 dc, ch 1, 1 dc in next dc, ch 1, skip next 2 dc, 1 dc in last dc. Ch 4, turn.
Rows 3 to 8- Rep row 2. Ch 3, turn.
Row 9- 1 dc in each dc and in each ch across. (7 dc. Fasten off, leaving long tail to sew with.)
Thread blunt needle with leftover tail and sew strap where you find it comfortable.
Tassels- (Make 2)
With Binkini, cut 6 strands, 12” long per tassel. Fold the yarn in half. Turn the scarflet to the wrong side and attach the tassel as follows: Insert hook under ch space of central shell of triangle edge, insert the hook in the center of the folded yarn and pull the yarn under that ch-sp of central shell forming a loop, using the hook, pass the rest of the yarn through the loop you just formed and tighten up. Repeat with the other tassel.
Trim tassels so that they will have the same size.

Done!


Note-I'm slowly recovering from a serious illness, please bear with me until we really get back to normal. A big thank you to all of you who have sent me get-well wishes! They have been much appreciated!
Do you sometimes feel discouraged? Do you feel that life is very hard for you and that you need or would like to have encouragement that is not fluffy, but based on something solid? Check out this beautiful blog!
Drops of Joy and Sunshine
Best Blog Tips

Sampler Scarflet Part 1

Best Blog Tips

This is a wonderful opportunity for you to practice your new hook-knitted skills by making new
stitches and combining them with the kind of crochet you are used to. It is a sampler scarflet that is not only fun but will open for you new possibilities when it comes to how you make your hook work for you!
By the way, these stitches can be used for other things also, for example, this first one would look lovely in a shawl.

Materials:Red Heart worsted weight yarn Bright Yellow (scraps)
Red Heart worsted weight yarn Bikini (variegated) (scraps)
Red Heart worsted weight yarn Pretty ‘N Pink (scraps)
Red Heart worsted weight yarn Pumpkin (scraps)
Red Heart worsted weight yarn Turqua (scraps)
Crochet hook size H
1 pair knitting needles size 5

Hook Knit Pattern 1- (A nice multiple of 2)

With Bright Yellow, ch 24.
Cast on 24 stitches into one of the knitting needles as explained before (please refer to our previous tutorials.)
Row 1- Hook knit across. (24 k sts)
Row 2- Hook purl across. (24 p sts)
Row 3- Insert hook into first two loops on the knitting needle, slip them into the hook, yo, and pass yarn through loops on hook, slip into second knitting needle. Repeat across. (12 sts)
Row 4- * Knit first stitch, insert hook in the small loop below previous purl stitch, and pull up a loop, insert that loop into second knitting needle, insert hook in the horizontal bar before next stitch, yo, pull yarn into second knitting needle (horizontal bar knit), rep across. (24 sts)
Repeat rows 1 to 4 for pattern. Rep pattern for 22 rows. Fasten off, weave in tails. Do NOT take loops off knitting needle!
Row 23- Holding strand of Bikini, insert hook into first loop and pull Bikini yarn into that loop, yo, insert hook into next loop, pull yarn through both loops on hook, continue casting off as explained before, insert hook into next loop in knitting needle and pull loop through both loops on hook in a slip stitch fashion, insert hook into next loop, pull loop and bring that loop through both loops on hook, continue in this manner until you have only one loop left on the knitting needle, insert that loop into your hook and fasten off as you usually to end a crochet row. Do NOT Fasten off Bikini.

Stitch No. 2-
Row 1-
(Wrong Side) With Bikini and working on the chains formed when you did the cast off, make 1 sc in each stitch across. (24 sc) Ch 2, turn (counts as 1 sc plus 1 ch).
Row 2- (Right Side) Skip second sc, *1 sc in next sc, ch 1, skip next sc, 1 sc in next sc, rep from *across. End row with 1 sc in last sc. Ch 2, turn.
Row 3- 1 sc in first ch-1 sp, ch 1, sc in next ch-sp, ch 1, *1 sc in next ch-sp, ch 1, rep from * across, 1 sc in top of turning ch.
Rep row 3 for pattern until you have completed 7 rows from starting row 1. Fasten off Bikini as usual and weave in ends.
Join Pretty ‘N Pink with a slip st.
Row 8- Rep row 2.
Row 9- Rep row 3.
Rows 10 to 14- continue repeating rows 2 and 3. Fasten off Pretty ‘N Pink, weave in ends.

To be continued. . .

Note- If you have written me messages, please have some patience. I am not even supposed to be posting. I'm sick. Have had something rather serious and am supposed to be resting! If it wasn't because I have a laptop and can work from my bed, I wouldn't have posted until weeks from now. So please, bear with me, I'll get back to you when I can.


Do you sometimes feel discouraged? Do you feel that life is very hard for you and that you need or would like to have encouragement that is not fluffy, but based on something solid? Check out this beautiful blog!
Drops of Joy and Sunshine
Best Blog Tips

How to Crochet with Knitting Needles Tutorial--- 2

Best Blog Tips


Last week we started a series of lessons which I hope iwll open to you a whole new source of wonderful stitches whihc you canuse for scarves, granny squares, sweater blocks, and much, much more! We started learning how to use knitting needles with a hook, to create stitches!

This week we will learn the Knit Stitch, which will come very much in handy later on in our lesson series.


For the sake of brevity, we will only cast on 20 stitches like we did last week, but if you are making a block and would like to match it with other block which you have already made, simply crochet enough stitches to match the width of your already existing blocks and knit up until you match their size. You can also continue up all the way to make a scarf, or triple the amount of stitches to make yourself a small pillow for your bed or for your couch. We are only practicing, but as you learn, don't be afraid to apply what you have learned to actual projects you would like to make.
Note- Remember that the width of your block or strip will be the same as the amount of chains you make for your starting cast on.


(Photos show the front and then the back of the knit stitch fabric.)

Materials:
Worsted weight yarn of your choice
1 set knitting needles size 5
1 crochet hook size F

Let's begin.
Ch 20. Using a crochet hook size F, insert last loop left on crochet hook into knitting needle after you finish your chain, then *insert hook into next ch and pull up a loop of yarn, insert that loop into first knitting needle, pull gently on yarn to adjust loop, rep from *with all chains made until you have 1 loop hanging on the knitting needle per chain made. (20 loops on needle)

Knit Stitch-
To start the knit stitch, which is one of the two basic stitches in knitting, you will follow some of the steps we learned last week, the only difference is that last week, for the Garter Stitch, we did knit stitch in the front and in the back, this time, we need to do the knit stitch in the front and the purl stitch in the back. This is how you do it:
Row 1- (Right Side) With working yarn to the back, insert hook from front to back into first loop on knitting needle, pull up loop, insert into second knitting needle. Rep across, adjusting tension of loop as you insert it into the knitting needle. (You just made a "knit" row)
Purl Stitch-
Row 2-
(Wrong Side) Placing working yarn in front, insert the crochet hook from back to front and with hook facing downward, pull up a loop and insert that loop in second knitting needle.
Rep across. (You just completed a Purl row.)
Rep rows 1 and 2 for pattern. This will form the Stockinette Pattern.
Practice these two rows until you get them down pat. Remember, I've got something planned and I don't want you to miss out on it, so learn them well!

If you require more information than this, please refer to last week's illustrated tutorial.
You can find it here:

http://craftybegonia.blogspot.com/2011/05/how-to-crochet-with-knitting-needles.html


Do you sometimes feel discouraged? Do you feel that life is very hard for you and that you need or would like to have encouragement that is not fluffy, but based on something solid? Check out this beautiful blog!
Drops of Joy and Sunshine
Best Blog Tips

How to Crochet with Knitting Needles Tutorial---1

Best Blog Tips


I have long loved the enormity of knitting stitches and their wonderful possibilities and yearned for some way of adapting them to crochet. I have purchased books that promised to teach me the technique of how to convert knitting into crochet and have not gone too far with them for one reason or another. The tutorial series that we begin today will not make you promises it cannot keep. I will not tell you that we will convert crochet into knitting because that is impossible since both are entirely different and even have different gauges and produce different results. What we will be learning is a way of making some beautiful stitches that look knitted and which you can use in some projects you would want to make. Learning this technique will also open for you the possibility of adapting other stitches you might have access to, so that you will have almost unlimited possibilities! This is for those of you who always want to be learning new things and want to keep your craft fresh and interesting!

Note- If you would like to use other sizes of hooks and knitting needles, you must experiment and swatch before you start a project.

Materials-1 set of knitting needles Metric size 3.75, US size 5, UK/Canadian size 9
1 crochet hook size F (3.75 mm)
Worsted weight yarn of your choice (for practice, it could be scraps)

Beginning- You could use either one of the following ways to mount your stitches onto the knitting needle to start practicing:

1- Leaving a length of yarn hanging at the start approximately 4 inches longer than the size of your swatch, make a slip knot as if you were going to begin crocheting.
2- Insert that slip knot into the knitting needle, wrap the yarn from the ball or skein you are using around your left thumb, then grasping the yarn firmly between your palm and back fingers, turn your thumb so that the back of it is facing you, insert the knitting needle, front to back through the loop that has formed by twisting your thumb, slip your thumb out of the loop, while at the same time you pull the yarn downward to close the loop around the knitting needle. Repeat step 2 as many times as needed to form the stitches you will need. Working yarn must be on the side of the tip of the knitting needle when you're done.

The second way in which you can do is my favorite. Frankly, I find it easier and you will never have too much or too little yarn hanging at the beginning!
1. Make a slip knot and start a normal crochet chain. Make as many chs as you will need to complete your swatch or the ammount of stitches you will need.
2. Insert every ring of the chain already made into the knitting needle. Working yarn must be on the side of the tip of the knitting needle when you're done.

Basic Knitting Language and Abbreviations-
K= Knit
K1= Knit 1 stitch
P =Purl
P1= Purl 1 stitch
YO= Yarn Over
Yf= yarn in front (can also be written: YiF or Yfwd= yarn forward)
Yb= yarn to back
S1= Slip 1 stitch, usually done with needles tip to tip or in a purlwise manner
PSSO= Pass Slip Stitch Over
K2tog= Knit 2 sts together (decreases 1 stitch)

Knitting and purling are the basis of all knitting stitches, with variations, if you know how to knit and purl, you can make an endless variety of beautiful stitches.
We will not be making garments in these tutorials, but I will teach you how to make swatches of stitches you could later use. You can also make your swatches longer and make scarves out of them. You can make perfect squares and use them for afghans of for any granny square-style project, combining them with regular crochet stitches or just using knit-crochet kind of stitches, it is up to you.
To learn our basic stitches, we will be making an even number of sts.

Casting On- With F hook and worsted weight yarn, ch 20.

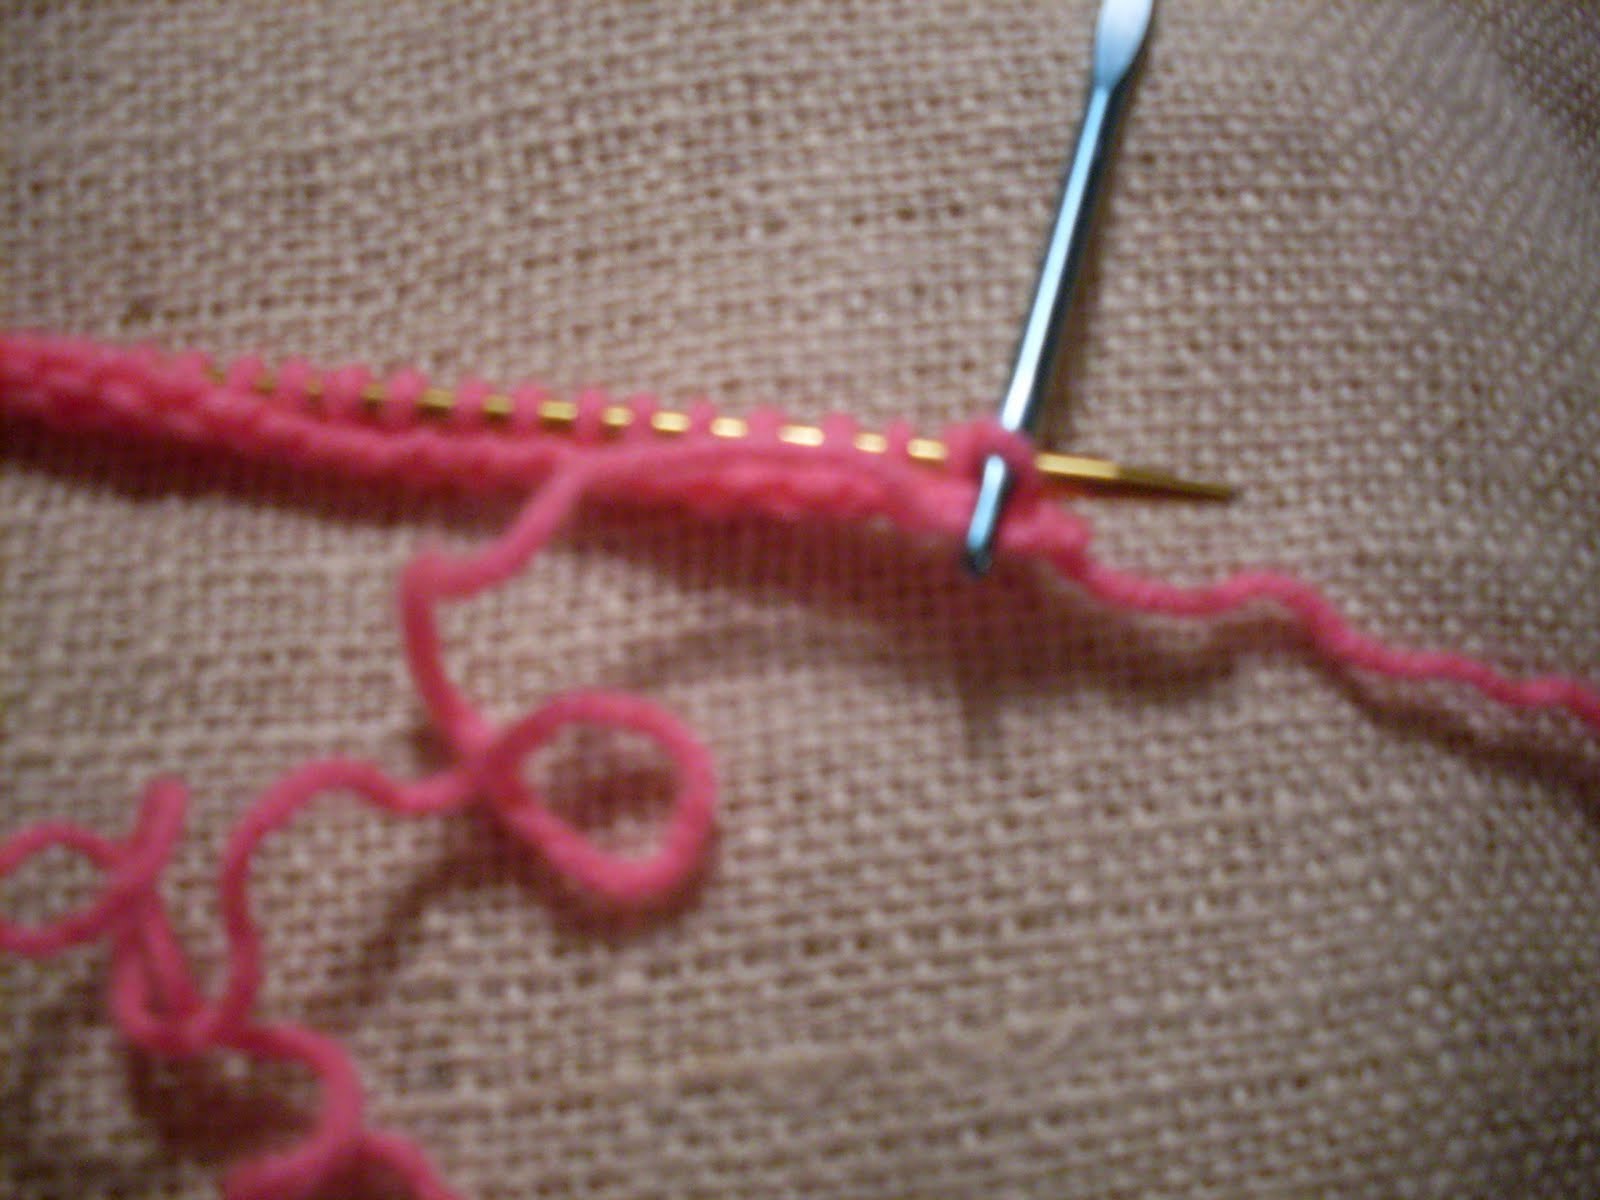
Insert last loop of chin into tip of knitting needle. Then, taking your F hook, insert the hook into the next ch and pull up a loop, insert yarn of pulled loop into tip of knitting needle, pull yarn to adjust size of stitch. Rep till all your chain has been worked and you have 20 loops hanging on the knitting needle. This is what they are supposed to look like:


Knit Stitch- This is one of the two basic knitting stitches. Now that you have cast on your 20 sts, you will turn the knitting needle so that the back is facing you, as if you had finished a row in crochet and were going to work across the back to make the second row, only that the cast on does not count as a row but as it were, as the basic "chain" or foundation of your stitches.
Row 1- Insert hook vertically, and pull up a loop, insert that loop into the tip of the second knitting needle. Now insert your hook sideways in next st, wrap yarn around hook and pull yarn through loop on knitting needle, with loop on hook, insert that loop into the second knitting needle, adjust loop so that it will not be too loose. Repeat this same step all across the row.


Ridges-

Take a look at your stitches, you will notice that you have a row underneath that is make of "knit" stitches, which formed naturally when you
did your cast on, and 1 row of "purl" stitches. This is the beginning of your ridges.
Row 2- Insert F hook in first loop on knitting needle and pull up a loop, insert that loop in second knitting needle. Insert hook in next loop hanging on knitting needle and pull up a loop,
insert that loop formed into second knitting needle (these are knit sts you are making), rep across. Now all your stitches are loops hanging on the second knitting needle.
Row 3- Rep row 2 across second knitting needle.
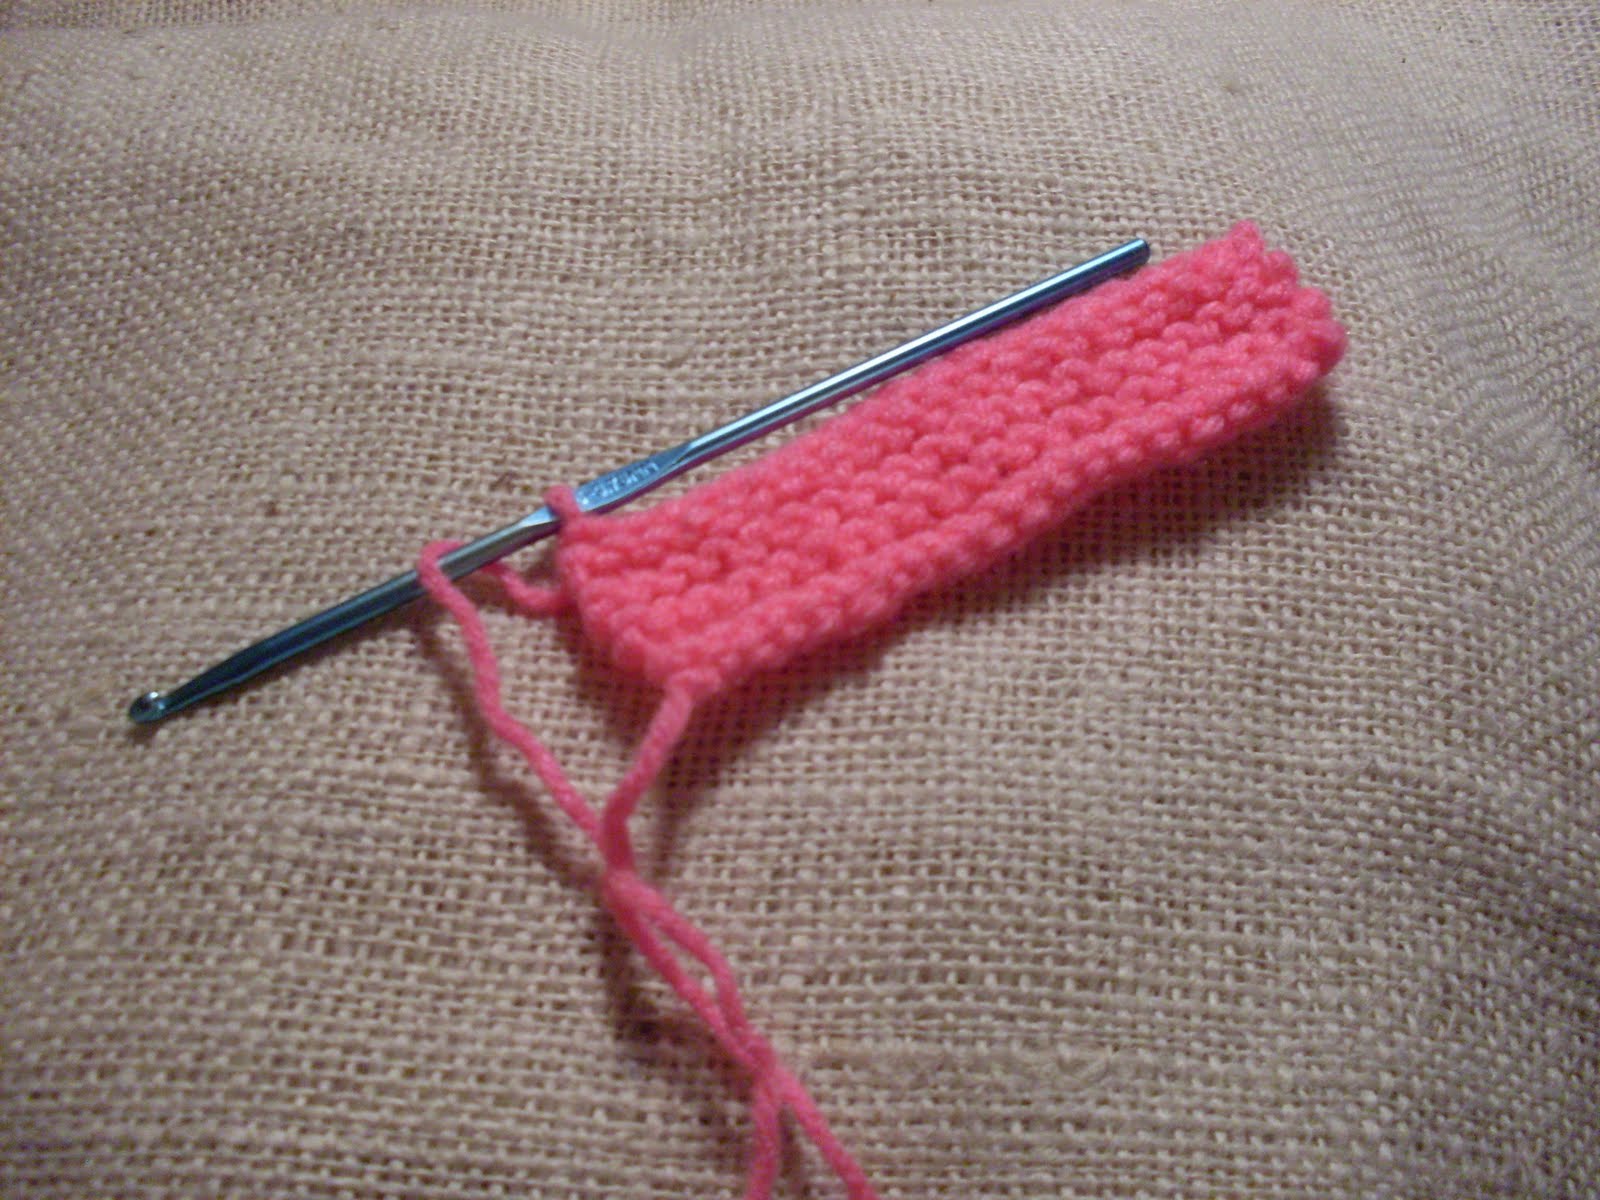
Continue repeating rows 2 and 3 until you have the length you want for your swatch or until you have learned these stitches by heart. The pattern will form ridges which in knitting terms are called "Garter Stitch".
This stitch will make a very nice scarf also a pretty square for any afghan or for a top made in the old-fashioned granny square mold.


Cast off- To cast your stitches off the knitting needle to complete your swatch, or your granny square, proceed as follows:
Insert hook in first loop hanging on knitting needle and pull up loop, yo, insert hook into next loop in knitting needle and pull loop through both loops on hook in a slip stitch fashion, insert hook into next loop, pull loop and bring that loop through both loops on hook, continue in this manner until you have only one loop left on the knitting needle, insert that loop into your hook and fasten off as you usually do for crochet.


You just learned how to do garter stitch using a hook assisted by knitting needles!


.....................................................
Do you sometimes feel discouraged? Do you feel that life is very hard for you and that you need or would like to have encouragement that is not fluffy, but based on something solid? Check out this beautiful blog!
Drops of Joy and Sunshine

Best Blog Tips