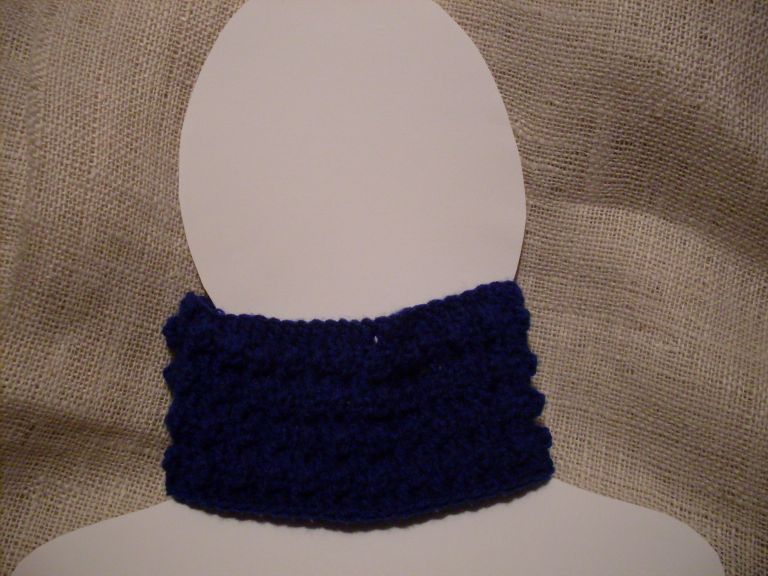
I love combo pieces, those that you can wear in different ways are really nice. Here's another one of those! This pretty neckie is softly textured to lend it interest and a bit lacy so that it won't be stiff around your neck. The beauty of it is that you can wear it only buttoned at the top and opened at the bottom as a neckie or you can close it all up and wear it as a gentle cowl. This easy and attractive pattern is also relatively fast to make!
Materials Red Heart worsted weight yarn Dusty Green
Crochet hook size H
Blunt needle
scissors
4 Buttons of your choice of a size that can easily go between dc stitches
Sewing needle
Sewing thread matching the yarn color of the neckie

Note- Ch 3 counts as 1 dc and ch 2 counts as 1 hdc throughout.
With Dusty Green and H hook, ch 52.
Row 1- 1 dc in 4th ch from hook and in each ch across.(50 sts).
Row 2- Ch 3, turn. 1 dc in next dc. ch 1, 1 dc in each of next 2 dc, ch 1, *1 dc in each of next 2 dc, ch 1, rep from * across. Ch 3, turn. Row 3- Rep row 2. Ch 2, turn. Row 4- 1tr in next dc, 1 sc in ch-1 space, *1 hdc in next dc, 1 tr in next dc, 1 sc in next ch-1 space, rep from * across. Rows 5 to 6- Rep row 2. Row 7- Rep row 4. Row 8- Rep row 4. Row 9- Rep row 5.
Row 10- Turn the neckie sidewise and sc across the narrow edge of it. Row 11- Rep row 10. Row 12- Ch 3, make 3 dc in same spot as ch 3, skip 2 s c, make 4 dc in next sc, skip 2 sc, make 4 dc in next sc, rep across. End row with 1 sc in last stitch. Fasten off.
Rows 13 to 15- Turn the neckie on its edge at opposite end and make 2 rows of sc for buttonband. Fasten off. Weave in tails.
Materials Red Heart worsted weight yarn Dusty Green
Crochet hook size H
Blunt needle
scissors
4 Buttons of your choice of a size that can easily go between dc stitches
Sewing needle
Sewing thread matching the yarn color of the neckie

Note- Ch 3 counts as 1 dc and ch 2 counts as 1 hdc throughout.
With Dusty Green and H hook, ch 52.
Row 1- 1 dc in 4th ch from hook and in each ch across.(50 sts).
Row 2- Ch 3, turn. 1 dc in next dc. ch 1, 1 dc in each of next 2 dc, ch 1, *1 dc in each of next 2 dc, ch 1, rep from * across. Ch 3, turn. Row 3- Rep row 2. Ch 2, turn. Row 4- 1tr in next dc, 1 sc in ch-1 space, *1 hdc in next dc, 1 tr in next dc, 1 sc in next ch-1 space, rep from * across. Rows 5 to 6- Rep row 2. Row 7- Rep row 4. Row 8- Rep row 4. Row 9- Rep row 5.
Row 10- Turn the neckie sidewise and sc across the narrow edge of it. Row 11- Rep row 10. Row 12- Ch 3, make 3 dc in same spot as ch 3, skip 2 s
 c, make 4 dc in next sc, skip 2 sc, make 4 dc in next sc, rep across. End row with 1 sc in last stitch. Fasten off.
Rows 13 to 15- Turn the neckie on its edge at opposite end and make 2 rows of sc for buttonband. Fasten off. Weave in tails.
Sew buttons on side opposite shell edging. Use the space in between the first 2 dc in each shell to slide in button.






 Posts