

Materials:
Red Heart worsted weight yarn Coffee (1 skein)
Red Heart worsted weight yarn Black (scraps)
Red Heart worsted weight yarn Carrot (scraps)
Red Heart worsted weight yarn Cafe (scraps)
Red Heart worsted weight yarn Buff (scraps)
Red Heart worsted weight yarn Warm Brown (scraps)
Red Heart worsted weight yarn Cherrycola (variegated) (1 skein)
Crochet hook size H
1 large safety pins
Scissors
Blunt needle (to weave in ends)
Measuring tape
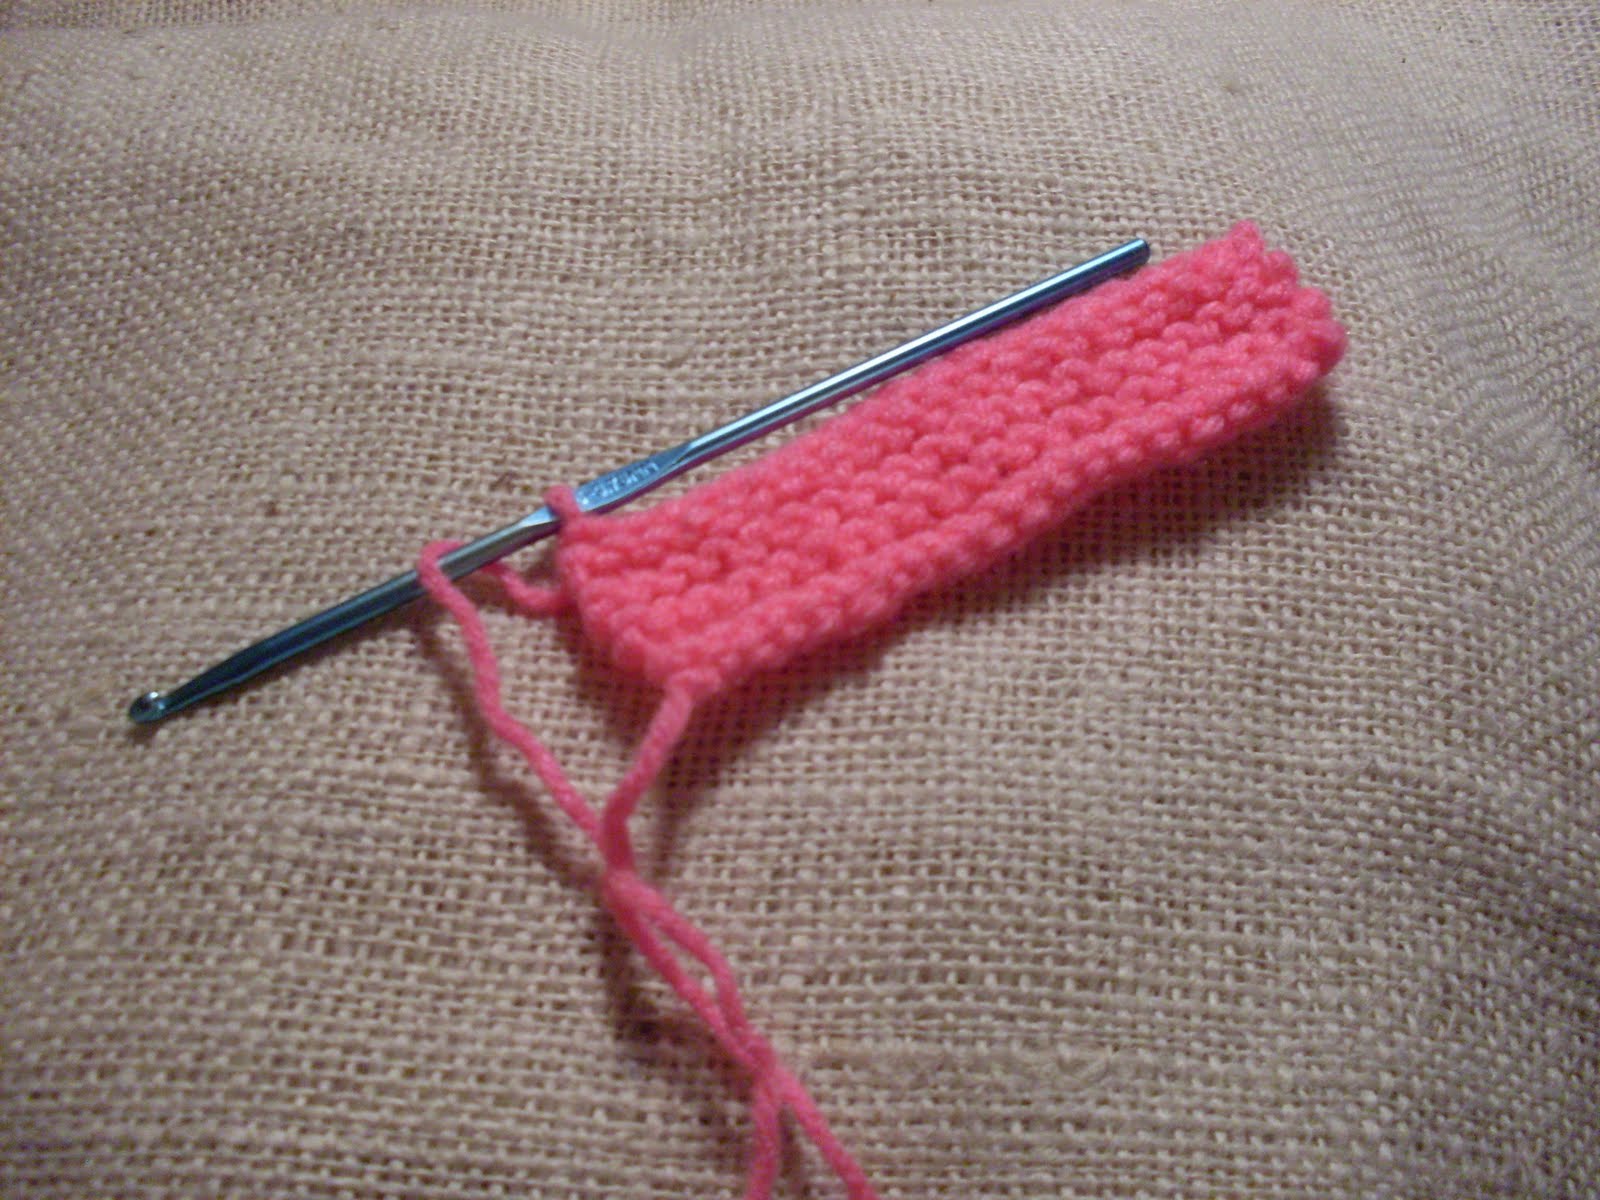
Scarflet Back-
With Coffee, ch 20.
Row 1- 1 dc in 4th ch from hook and in each ch across. Ch 3, turn. (18 dc)
Row 2- 1 dc in each dc across. Ch 3, turn.(18 dc)
Rows 3 to 23- Rep row 2. Ch 3, turn.(18 dc)
Row 24- 1 dc in each dc across.Ch 3, turn. (18 dc)
Braid Portion-
Strand No. 1-
Row 1- With Coffee, work 1 dc in each of next 2 dc. Ch 3, turn (counts as 1s dc of next row).
Row 2- 1 dc in each of next 2 dc. Ch 3, turn.
Row 3- (You will be working on these 3 sts only until you complete this strip for the braid) 1 dc in each of next 2 dc. Ch 3, turn.
Rows 4 to 22- 1 dc in each of next 2 dc, Ch 3, turn.
Ro
 w 23-1 dc in each of next 2 dc. Fasten off Coffee.DO NOT weave in tail.
Strand No. 2-
Braid Portion-
With Carrot, repeat rows 1 to 23 as for Strand No. 1. Fasten off but DO NOT weave in end.
Strand No. 3-
Braid Portion-
With Black, repeat rows 1 to 23 as for Strand No. 1.Fasten off but DO NOT weave in tail.
Strand No. 4-
Braid Portion-
With Cafe, repeat rows 1 to 23 as for Strand No. 1. Fasten off but DO NOT weave in end.
Strand No. 5-
Braid Portion-
With Buff, repeat rows 1 to 23 as for Strand No. 1. Fasten off but DO NOT weave in tail.
Strand No. 6-
Braid Portion-
With Warm Brown, repeat rows 1 to 23 as for Strand No. 1. Fasten off but DO NOT weave in end.
Repeat all these strand on opposite end of scarflet.
Braiding- (DO NOT BRAID TIGHTLY!)
1- Cross Black strand over Cafe strand.
2- Cross Buff over Black and Cafe over Carrot strand.
3- Cross Carrot over Buff strand.
4- Cross Black over Warm Brown and Coffee over Cafe.
5- Cross Coffee over Warm brown, Cafe over Buff and Carrot over Black.
Secure the strands in this position with a safety pin so that the braid will not come unravel.
Repeat these steps on the opposite side of the scarflet. Do not worry if some of the strands are longer and others shorter, we will take care of that. Put a safety pin on this side also. Set aside scarflet for a little bit.
Gathering strap:
With Cherrrycola, ch 5.
Row 1- 1 sc in 2nd ch from hook and in ach ch across. Ch 1, turn. (4 sc)
Row 2- 1 sc in each sc across. Ch 1, turn. (4 sc)
Rows 3 to 29- Rep row 2. (4 sc)
Row 30- 1 sc in each sc across. (4 sc.) Fasten off Cherrycola, leaving long tail to sew with.
Now, unravel the portion of any strand that is longer than the others until it matches the same size left over on the
shortest strand. Fasten off and weave in tail in all strands. Measure their length with a measuring tape is you need to.
(In my case, all my strands were 3-1/2" long.)
Rings- With CherryCola, Ch 5. Slip st to join rnd.
Rnd 1- Ch 2, make 11 hdc in ring. Sl st to join rnd. Fasten off, leaving long tail to sew with.
Back Securing Strap-
With Cherrycola, chain 11.
Row 1- 1 sc in 3rd ch from hook and in each ch across. Fasten off. Sew this small strap to the back of the end of the scarflet that is opposite
to the one that has the Gathering Strap, to help to secure the end of the braided section iwth more safety, so that with use, it will not fall apart.
With small, fir firm stitches, which are as invisible as possible, secure the braid to its current position before you take off the safety pin.
As you sew, intertwine the ends as naturally as they seem to you, without twisting them. With tiny stitches, sew the si
 des of the strands to one another to keep them together.
Make sure your stitches are firm but as invisible as possible! Fasten off and weave in ends. (10 sc)
Match strands of this side of the scarflet to each other and to the size of the ones on the opposite side. (Use measuring tape to make sure.)
Sew the woven sides to each other as you did on the other side. Both sides will be slightly different, but that's the joy of handmade things!
Make the rings and attach them as seen in photos. Fasten off, weave in tails.
Done!
Do you know someone who's unemployed? Share these encouraging promises with them!
Bible Promises for the Unemployed1


