The classic, go-with-anything quality of navy blue has made it an enduring color in women's closets for generations!
The convenience of the color has been softened by the presence of lace edges to create a relatively simple to make, feminine scarflet that wears easy and well. For your convenience, I used a readily available and affordable yarn.
Materials-
Red Heart worsted weight yarn, Soft Navy (1 skein)
Crochet hook size H
Blunt needle (to weave in tails)
Scissors
Side #1-
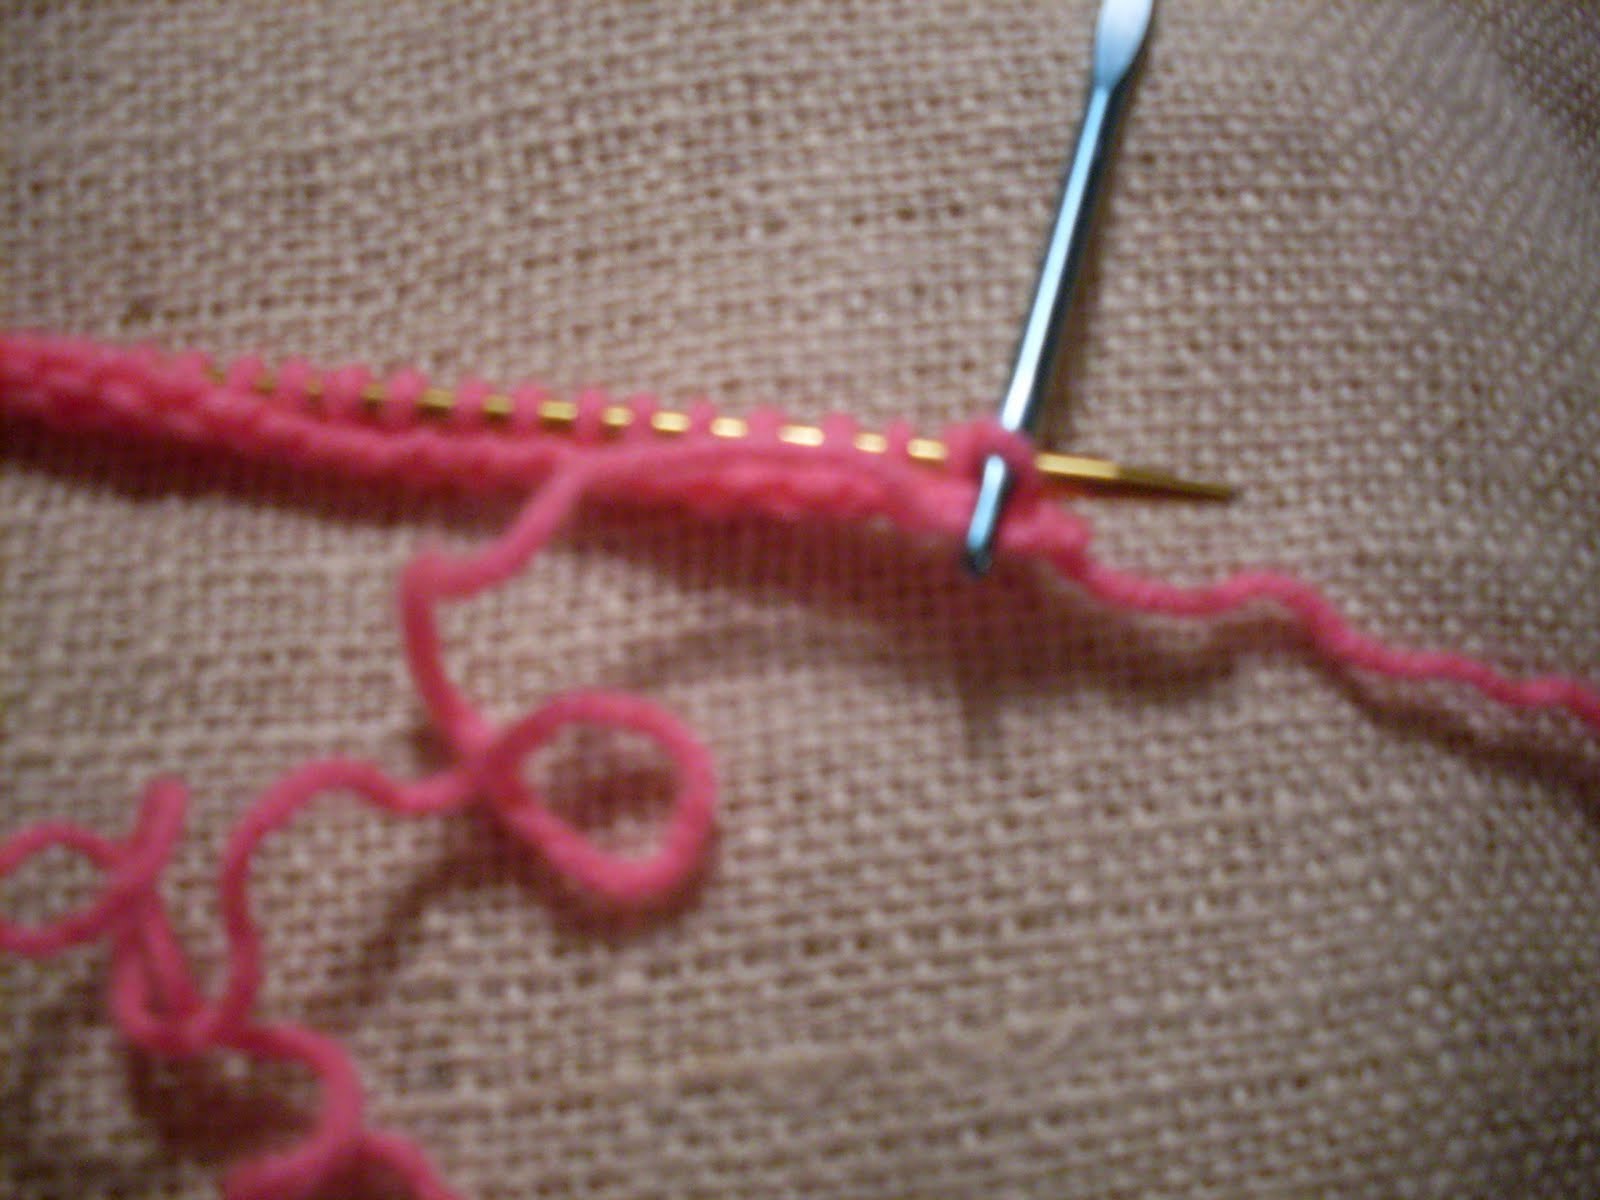
With Soft Navy and H hook, ch 26.
Row 1- 1 sc in second ch from hook, skip 4 ch, work 7 dc in next ch, *skip 4 ch, work 7 dc in next ch, rep from * across, end row with 1 sc in last ch. Ch 5, turn. (4 seven-dc shells plus 2 sc.)

Row 2- Skip first 2 dc of first shell, 1 dc in next dc of shell, ch 1, skip next dc, 1 dc in next dc, ch 4, skip last 2 dc of shell and also skip the first 2 dc of next shell, *1 dc in next dc, ch 1, skip next dc, 1 dc in next dc, skip last 2 dc of current shell, ch 4, skip first 2 dc of next shell, work 1 dc in next dc, ch 1, skip next dc, 1 dc in next dc, rep from * across, end row as follows, ch 2, 1 dc in top of turning ch. Ch 3, turn. (10 dc and 4 ch-4 spaces)
Row 3- 3 dc in same stitch as ch 3, *skip all the way to the next ch-4 space, skip first ch of ch-4 space and work 7 dc in next ch, skip next 2 ch, rep from * across, end row by working 4 dc in top of turning ch. Ch 7, turn. (5 shells)
Row 4- Skip all dc of first shell and the first 2 dc of next shell, 1 dc in next dc, ch 1, skip 1 dc, 1 dc in next dc, *ch 4, skip all the way to the third dc of next shell, 1 dc in that stitch, ch 1, skip next dc, 1 dc in next dc, rep from * across, finish row as follows, ch 4, 1 dc in top of turning ch. Ch 3, turn. (8 dc and 4 ch-4 spaces)
Row 5- Skip first 2 ch of ch-4 space, work 7 dc in next ch, skip last ch of ch-4 sp, *skip all the way to the 3rd ch of next ch-4 space, make 7 dc in that ch, skip next ch, rep from * across, 1 dc in top of turning ch. Ch 5, turn. (4 shells plus 2 dc)
Row 6- Rep row 2. Ch 3, turn.
Row 7- Rep row 3. Ch 4, turn.
Row 8- Skip second dc of first shell, ch 1, 1 dc in next dc, ch 1, *skip next dc, 1 dc in next dc, ch 1, rep from *across, 1 dc in top of turning ch. Ch 4, turn.
Row 9- 1 dc in next dc, ch 1, *1 dc in next dc, ch 1, rep from * across, 1 dc in top of turning ch. Ch 4, turn. (15 sc, 14 ch-1 sp)
Rows 10 to 13- Rep row 9. Ch 4, turn. (15 sc, 14 ch-1 sp)
Row 14- Skip first ch 1-sp, 1 tr in next dc, tr2tog over next ch-1 sp and next dc, [1 tr in next ch-1 sp, 1 tr in next dc, 1 tr in next ch-1 sp, 1 tr in next dc, tr2tog over nect ch-1 sp and next dc] rep 3 times, 1 tr in each of next 4 stitches,
skip next ch, 1 tr in top of turning ch, (23 tr) Ch 3, turn.
Row 15- 1 dc in each tr across. Ch 4, turn. (23 dc)
Row 16- 1 tr in each dc across. Ch 3, turn. (23 tr)
Row 17- 1 dc in each tr across. (23 dc) Ch 4, turn.
Row 18- 1 tr in each of next 4 dc, ch 13, 1 tr in each of last 5 dc. (10 tr, 13 ch) (Keyhole strated.) Ch 3, turn.
Row 19- 1 dc in each tr and in each ch across. (23 sts) (Keyhole completed.) Ch 4, turn.
Row 20- 1 tr in each dc across. Ch 3, turn. (23 tr)
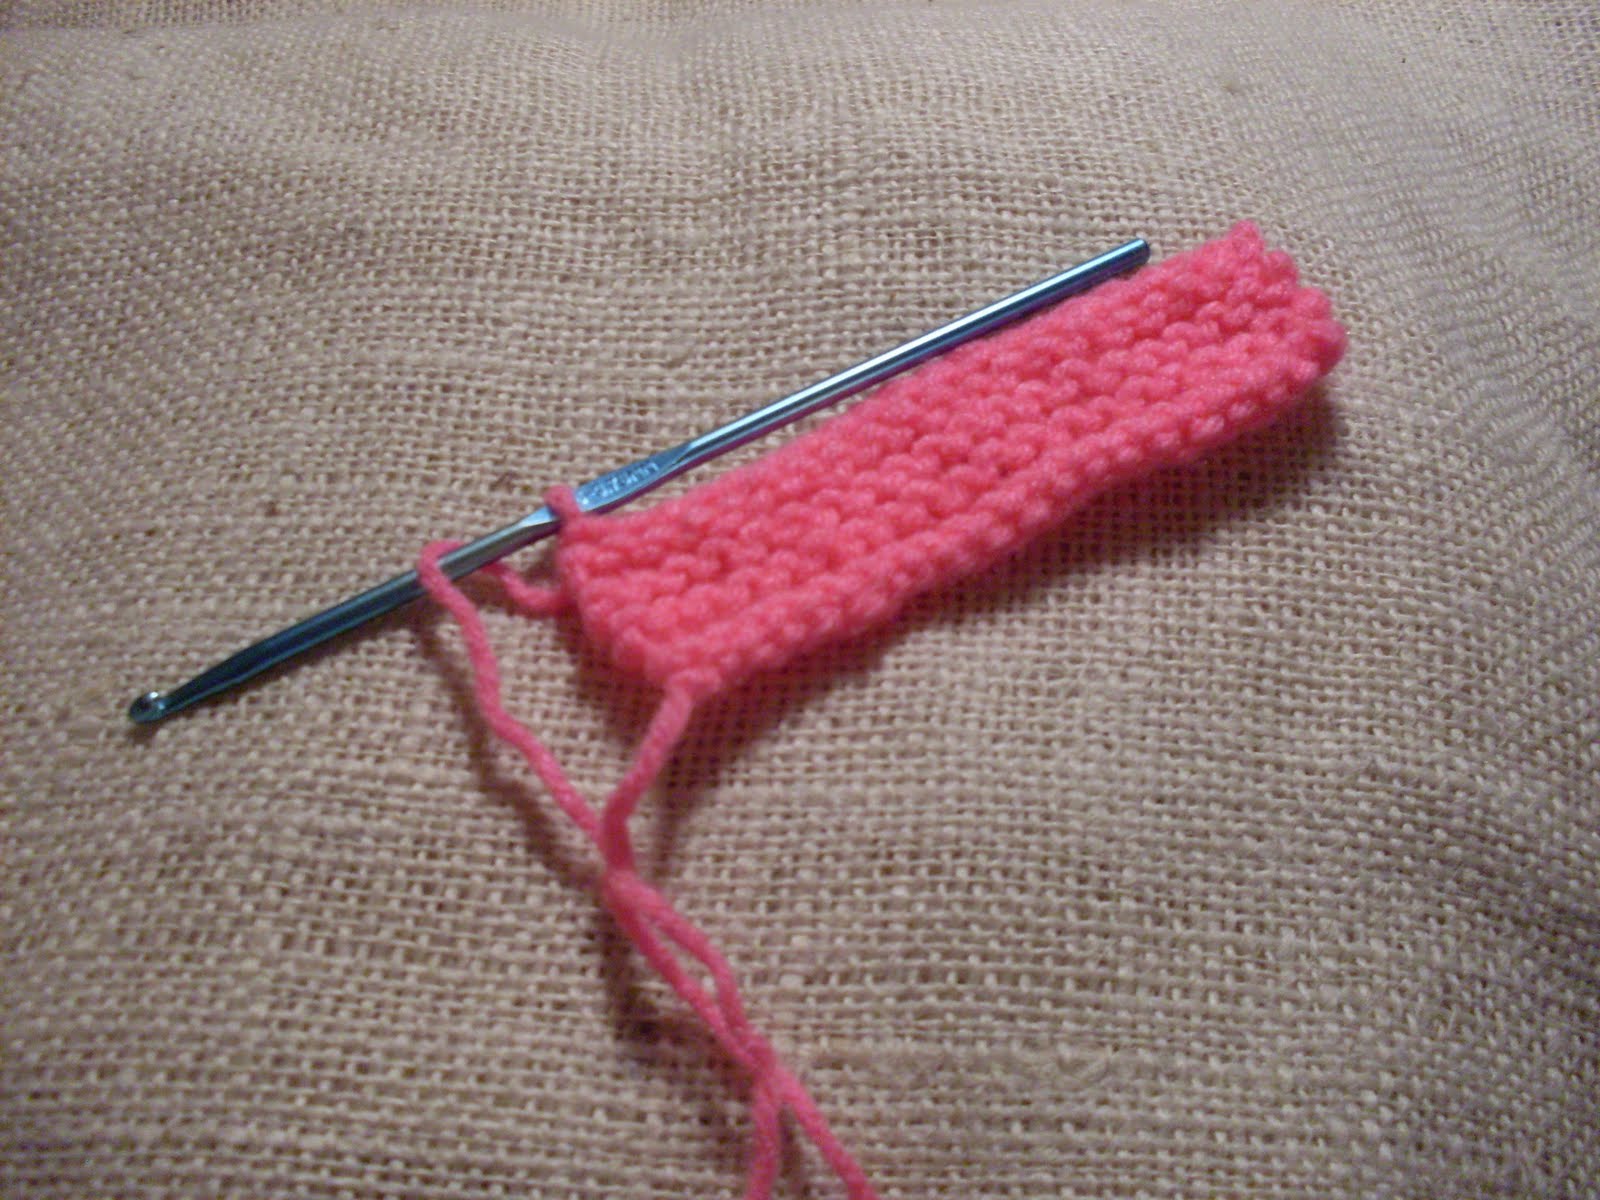
Rows 21 to 35- Alternate 1 dc row and 1 tr row. (23 sts) Fasten off Soft Navy and weave in tail.
 Side #2-
Note- This side of the scarflet will be 1 row shorter than the opposite side, because of the gaping hole of the keyhole, if you make it the same length as the other side,
it will appear to be longer, and the ends won't match. If you make it one row shorter, the ends match perfectly.
With Soft Navy and H hook, ch 26.
Row 1- 1 sc in second ch from hook, skip 4 ch, work 7 dc in next ch, *skip 4 ch, work 7 dc in next ch, rep from * across, end row with 1 sc in last ch. Ch 5, turn. (4 seven-dc shells plus 2 sc.)
Row 2- Skip first 2 dc of first shell, 1 dc in next dc of shell, ch 1, skip next dc, 1 dc in next dc, ch 4, skip last 2 dc of shell and also skip the first 2 dc of next shell, *1 dc in next dc, ch 1, skip next dc, 1 dc in next dc, skip last 2 dc of current shell, ch 4, skip first 2 dc of next shell, work 1 dc in next dc, ch 1, skip next dc, 1 dc in next dc, rep from * across, end row as follows, ch 2, 1 dc in top of turning ch. Ch 3, turn. (10 dc and 4 ch-4 spaces)
Row 3- 3 dc in same stitch as ch 3, *skip all the way to the next ch-4 space, skip first ch of ch-4 space and work 7 dc in next ch, skip next 2 ch, rep from * across, end row by working 4 dc in top of turning ch. Ch 7, turn. (5 shells)
Row 4- Skip all dc of first shell and the first 2 dc of next shell, 1 dc in next dc, ch 1, skip 1 dc, 1 dc in next dc, *ch 4, skip all the way to the third dc of next shell, 1 dc in that stitch, ch 1, skip next dc, 1 dc in next dc, rep from * across, finish row as follows, ch 4, 1 dc in top of turning ch. Ch 3, turn. (8 dc and 4 ch-4 spaces)
Row 5- Skip first 2 ch of ch-4 space, work 7 dc in next ch, skip last ch of ch-4 sp, *skip all the way to the 3rd ch of next ch-4 space, make 7 dc in that ch, skip next ch, rep from * across, 1 dc in top of turning ch. Ch 5, turn. (4 shells plus 2 dc)
Row 6- Rep row 2. Ch 3, turn.
Row 7- Rep row 3. Ch 4, turn.
Row 8- Skip second dc of first shell, ch 1, 1 dc in next dc, ch 1, *skip next dc, 1 dc in next dc, ch 1, rep from *across, 1 dc in top of turning ch. Ch 4, turn.
Row 9- 1 dc in next dc, ch 1, *1 dc in next dc, ch 1, rep from * across, 1 dc in top of turning ch. Ch 4, turn. (15 sc, 14 ch-1 sp)
Rows 10 to 13- Rep row 9. Ch 4, turn. (15 sc, 14 ch-1 sp)
Row 14- Skip first ch 1-sp, 1 tr in next dc, tr2tog over next ch-1 sp and next dc, [1 tr in next ch-1 sp, 1 tr in next dc, 1 tr in next ch-1 sp, 1 tr in next dc, tr2tog over nect ch-1 sp and next dc] rep 3 times, 1 tr in each of next 4 stitches,
skip next ch, 1 tr in top of turning ch, (23 tr) Ch 3, turn.
Row 15- 1 dc in each tr across. Ch 4, turn. (23 dc)
Row 16- 1 tr in each dc across. Ch 3, turn. (23 tr)
Row 17- 1 dc in each tr across. (23 dc) Ch 4, turn.
Row 18- 1 tr in each dc across. Ch 3, turn. (23 tr)
Row 19- 1 dc in each tr across. Ch 4, turn. (23 dc)
Rows 20 to 34- Alternate 1 dc row and 1 tr row. (23 sts) Fasten off Soft Navy and weave in tail.
With right sides matching each other and wrong sides facing you, sew both pieces together. Fasten off, weave in tail.
Weave in all leftover tails.
Done!
If you want to give back and share some of your blessings, why not use your crochet hook for a good cause? Check out this worthy site:
Crochet4Cause
 ............
Bible Universe


