

At the beginning I thought to make this a sampler of hook-knit stitches, but then I thought that some of you might not be interested in learning hook-knitting and yet would like to make this scarflet, so I decided to combine hook-knitted stitches with compatible crocheted stitches to give an opportunity to those crocheters that would like to stick to the usual use of their hooks. So, to make this scarflet in crochet only, you will continue in the crochet stitch, skipping the hook-knit section, until you reach the next crochet stitch, and thus you will be able to complete the scarflet. If you would like to make them both ways, go ahead! Anyone who loves freeform crochet and textured projects will love this one.
Materials:
Red Heart worsted weight yarn Bright Yellow (scraps)
Red Heart worsted weight yarn Bikini (variegated) (scraps)
Red Heart worsted weight yarn Pretty ‘N Pink (scraps)
Red Heart worsted weight yarn Pumpkin (scraps)
Red Heart worsted weight yarn Turqua (scraps)
Crochet hook size H
1 pair knitting needles size 5
Scissors
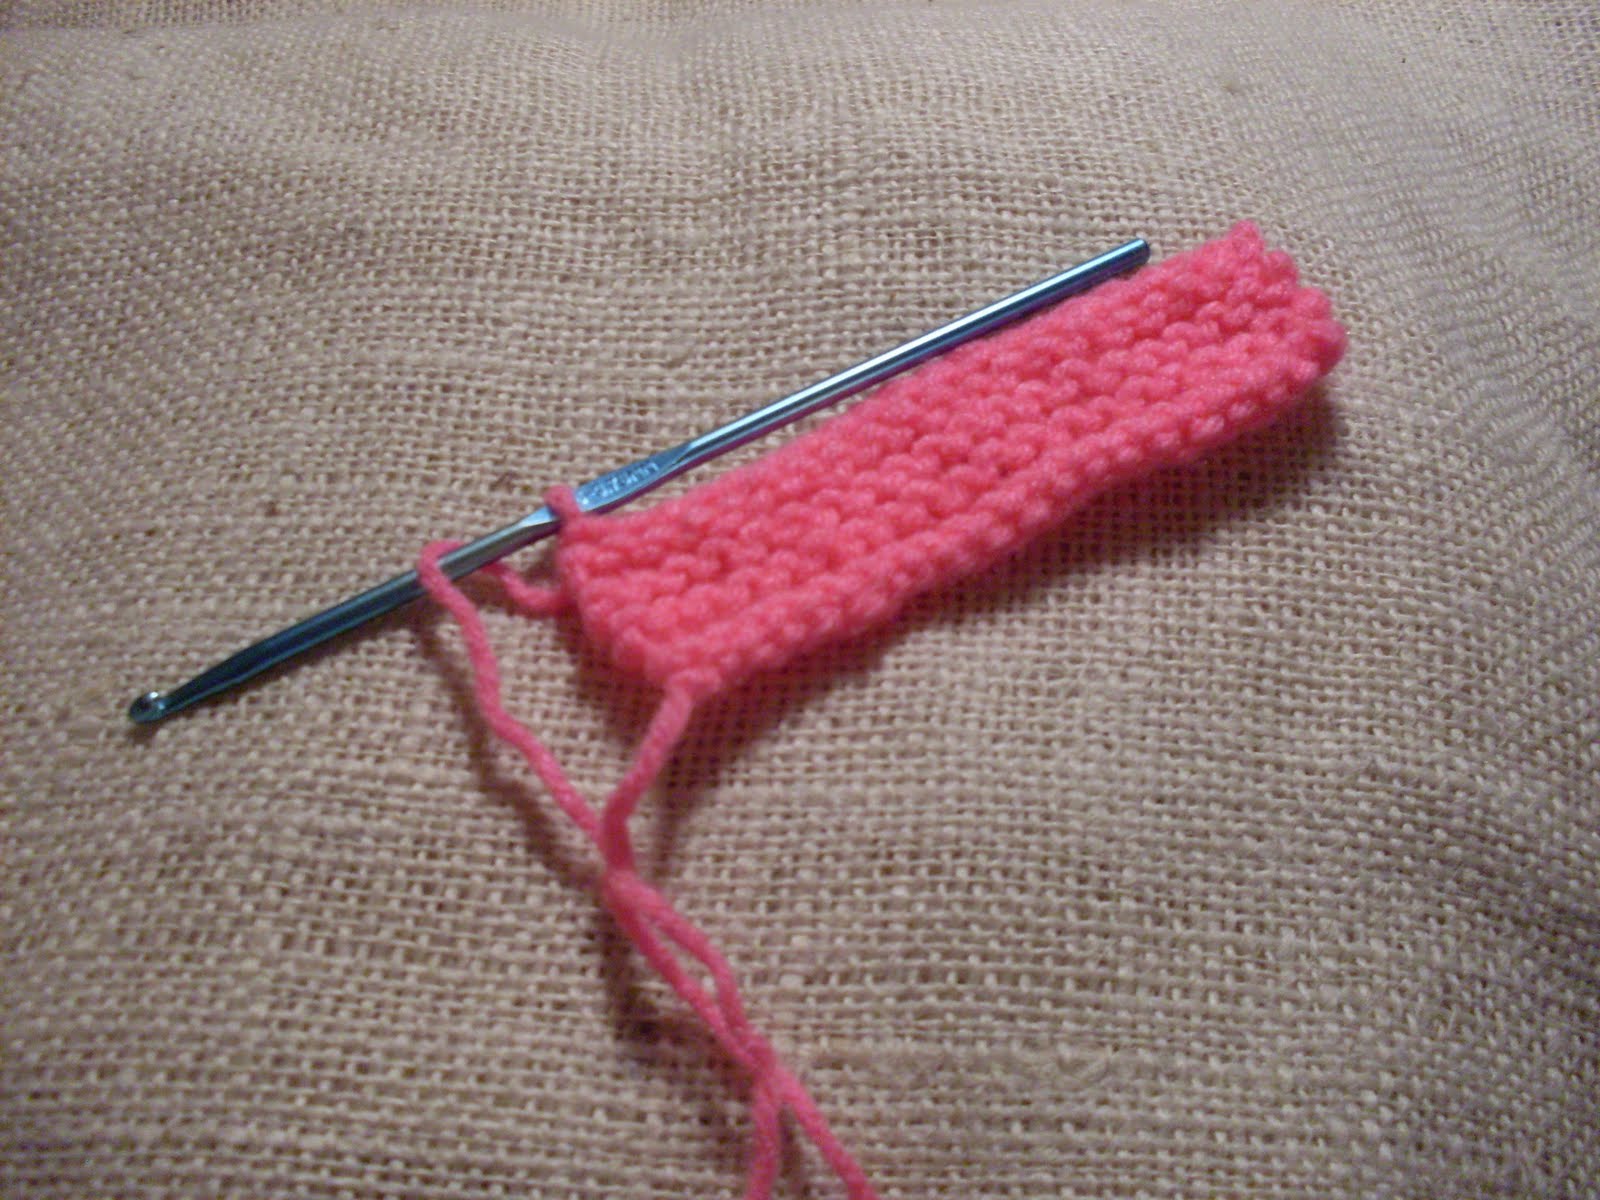
Stitch No. 3
Row 15- Join Pumpkin, work 1 sc in each stitch across. Ch 1, turn (counts as first sc).
Row 16- Skip next sc, 2 sc in next sc, *skip next sc, 2 sc in next sc, rep from * across. Ch 1, turn. Row 17- Skip next sc, 2 sc in next sc, *skip next sc, 2 sc in next sc, rep from * across. Ch 1, turn. Rows 18 to 27- Rep row 17. Ch 1, turn.
Row 28- Skip next sc, 2 sc in next sc, *skip next sc, 2 sc in next sc, rep from * across. Fasten off Pumpkin, weave in tail. (24 sts)
Stitch No. 4 (Some call this stitch Basketweave)
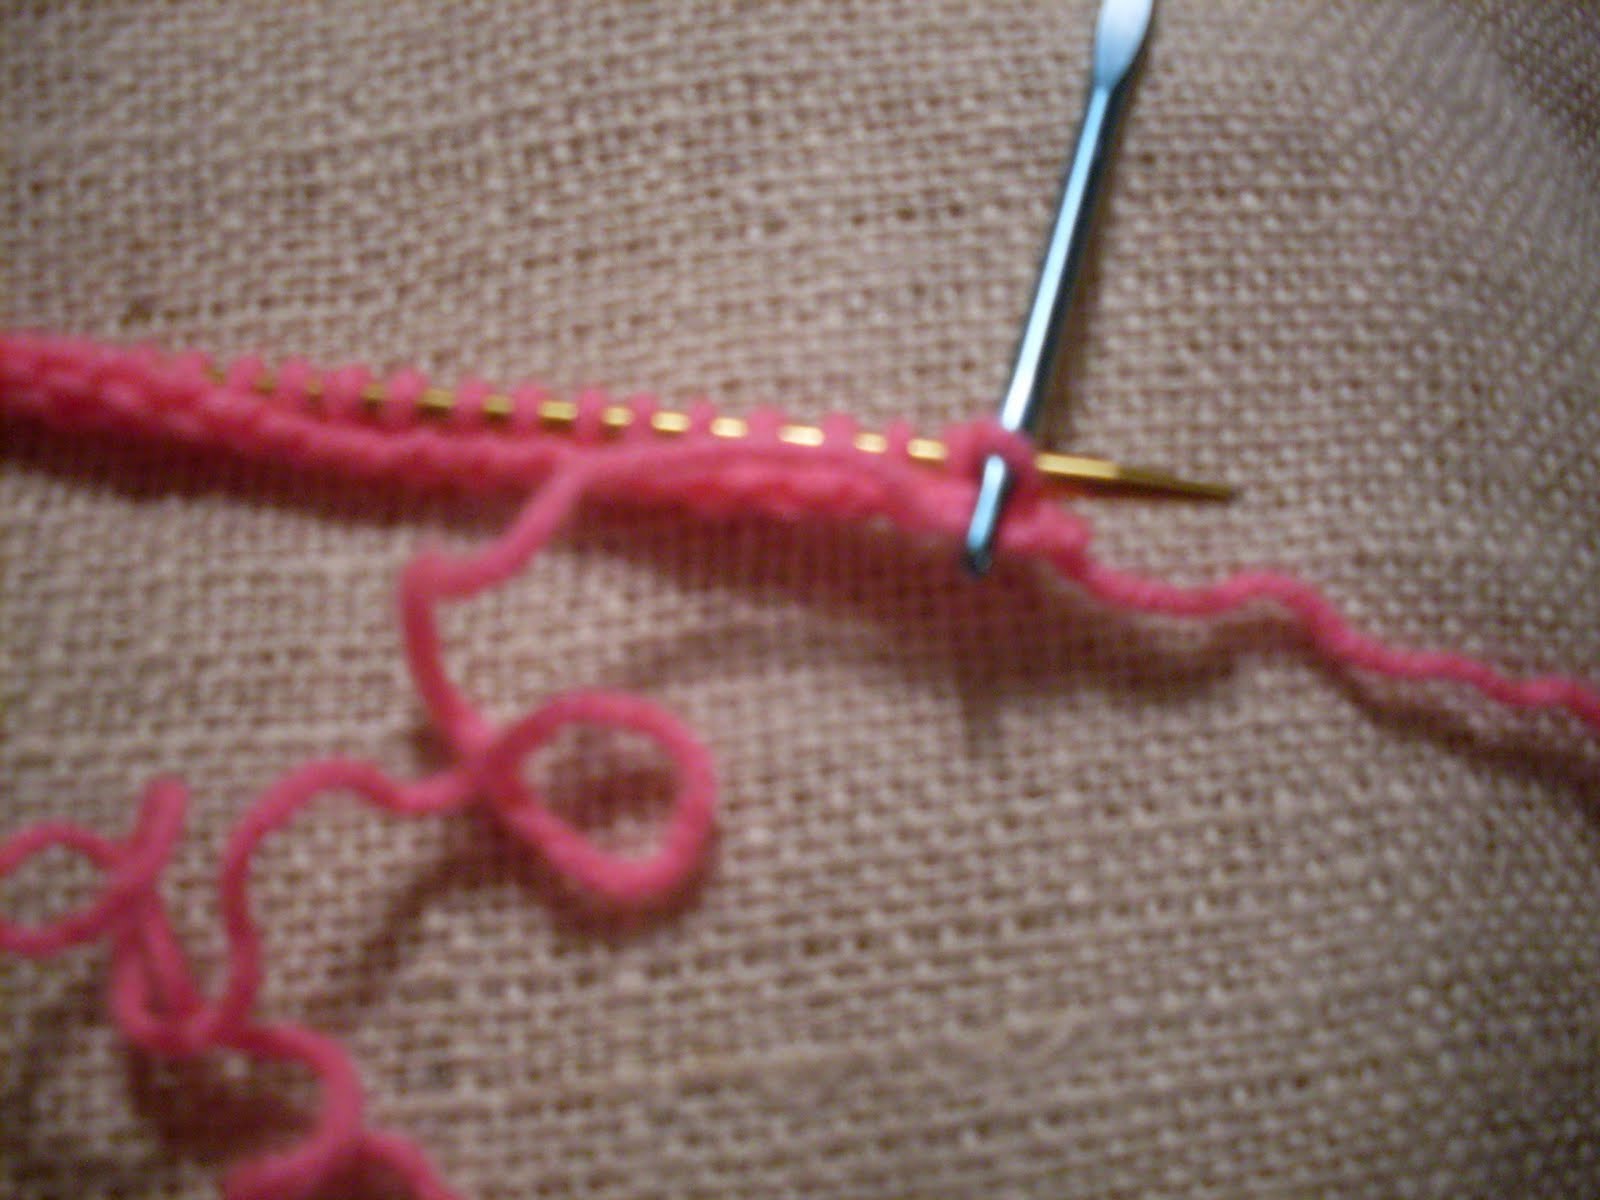
With right side facing, join Turqua. Insert hook into first stitch of Pumpkin fabric and pull up a loop, place loop in knitting needle, repeat across. (24 loops in knitting needle) Turn work around. Row 29- Purl in every stitch across as taught in
 previous tutorial. (24 sts)
Row 30- knit 1 (see previous tutorial on how to do it), bring yarn forward, and while keeping the yarn forwad, insert hook into next loop, lift that loop, unworked, from one knitting needle to the next and insert it into the other knitting needle (slip stitch done), slip next stitch, *knit 2, yarn in front, slip 2, repeat from * across. Knit last stitch of row. Turn.
Row 31- Purl in each stitch across. (24 sts)
Row 32- knit 1 in each of first 3 stitches, yarn in front, slip 2, *knit 1 in each of next 2 sts, yarn in front, slip 2, rep from * across. Knit 1 in each of last 3 stitches. DO NOT WORK TOO TIGHTLY!
Row 33- Purl in each stitch across. (24 sts)
Row 34- Knit 1, bring yarn forward, slip next 2 sts, *knit 1 in each of next 2 sts, bring yarn in front, slip next 2 sts, rep from *across. Knit last stitch of row. Turn.
Row 35- Purl in each stitch across. (24 sts)
Row 36- knit 1 in each of first 3 stitches, yarn in front, slip 2, *knit 1 in each of next 2 sts, yarn in front, slip 2, rep from * across. Knit 1 in each of last 3 stitches. Turn.
Row 37- Purl in each stitch across. (24 sts)
Row 38- Bring yarn forward, slip first 2 sts, knit 1 in each of next 2 sts, yarn in front, slip next 2 sts **knit 1 in each of next 2 sts, yarn in front, slip 2, rep from * across. Knit 1 in last 2 sts to end row. Turn.
Row 39- Purl in each stitch across. (24 sts)
Row 40- knit 1, yarn to front, slip next 2 sts, *knit 1 in next 2 sts, yarn in front, slip 2 sts, rep from * across. End row by knitting last st. Turn.
Row 41- Purl in each stitch across. (24 sts)
Row 42- knit 1 in each of first 3 sts, yarn in front, slip next 2 sts, *knit 1 in next 2 sts, yarn in front, slip next 2 sts, rep from * across. End row by making 1 knit st in each of last 3 sts.
Row 43- Purl in each stitch across. (24 sts)
Row 44- Knit 1 in each of first 2 sts, yarn in front, slip next 2 sts, *knit 1 in each of next 2 sts, yarn in front, slip next 2 sts, rep from * across.
Row 45- Purl in each stitch across. (24 sts)
Row 46- Yarn in front, slip first 2 sts, knit 1 in each of next 2 sts, *yarn in front, slip next 2 sts, knit 1 in each of next 2 sts, rep from * across. Knit last 2 sts.
Row 47- Purl in each stitch across. (24 sts)
Row 48- Knit 1 in each stitch across. (24 sts) Cast off as taught in previous tutorial. Fasten off Turqua, weave in ends.
Join Bright Yellow.
For Stitch No. 4 Rep Stitch No. 2-
Row 49- Working on the chains formed when you did the cast off, make 1 sc in each stitch across. (24 sc) Ch 2, turn (counts as 1 sc plus 1 ch).
Row 50- (Right Side) Skip second sc, *1 sc in next sc, ch 1, skip next sc, 1 sc in next sc, rep from *across. End row with 1 sc in last sc. Ch 2, turn.
Row 51- 1 sc in first ch-1 sp, ch 1, sc in next ch-sp, ch 1, *1 sc in next ch-sp, ch 1, rep from * across, 1 sc in top of turning ch.
Rows 52 to 71- Rep row 51. Ch 2, turn.
Row 72- Skip 1st sc, 1 sc in next ch-1 sp, ch 1, skip next sc, *1 sc in next ch 1, sp, ch 1, skip next sc, rep from * across. Fasten off Bright Yellow and weave in ends.
Stitch No. 5-
Row 73- (Working on Right Side) Join Bikini (variegated yarn). Ch 1. Work 1 sc in each sc and in each ch-1 sp across. (24 sc)
Row 74- (Working on the Wrong Side) Skip next sc, yo, insert hook into next sc and pull up a loop, yo, insert hook into next sc and pull up a loop, yo and pass yarn though all 5 loops on hook, secure stitch with a slip stitch, ch 1 (loop stitch made), skip 1 sc, rep loop stitch, *skip next sc, rep loop stitch, rep from * across. Do not skip stitch at end of row, but make last loop st over last 2 sc. Ch 1, turn. (24 sts)
Row 75- 1 sc in top of first loop stitch, 2 sc in next ch-sp, *1 sc in top of next loop stitch, 2 sc in next ch-sp, rep from * across. Ch 1, turn. (24 sts)
Row 76- (Working on the Wrong Side) Skip next sc, yo, insert hook into next sc and pull up a loop, yo, insert hook into next sc and pull up a loop, yo and pass yarn though all 5 loops on hook, secure stitch with a slip stitch, ch 1 (loop stitch made), skip 1 sc, rep loop stitch, *skip next sc, rep loop stitch, rep from * across. Do not skip stitch at end of row, but make last loop st over last 2 sc. Ch 1, turn. (24 sts)
Row 77- 1 sc in top of each loop st and 2 sc in each ch-sp across. (24 sts)
Rows 78 to 81- Alternate these two rows for pattern. Fasten off Bikini, weave in tails.
Stitch No. 6-
Row 82- Join Pretty ‘N Pink. Ch 1, 1 sc in next sc, 1 dc in back loop of same stitch where you made sc, skip 1 sc, *1 sc in next sc, 1 dc in back loop of same stitch where you made sc, skip 1 sc, rep from * across. Ch 1, turn. (24 sts)
Row 83- Skip first sc, 1 sc and 1 dc in next dc, *skip next sc, 1 sc and 1 dc in next dc, rep from * across. In last sc work 1 dc and 1 sc (inverting the previous stitch.) Ch 1, turn. (24 sts)
Row 84- 1 sc in next sc, 1 dc in back loop of same stitch where you made sc, skip 1 sc, *1 sc in next sc, 1 dc in back loop of same stitch where you made sc, skip 1 sc, rep from * across. Ch 1, turn. (24 sts)
Row 85 to 86- Rep rows 83 and 84. Ch 1, turn.
Row 87- Rep row 84. Fasten off, weave in tails.
Join Turqua.
For Stitch No. 7 Rep Stitch No. 2-
Rows 85 to 105- Proceed as you did for Stitch No. 2. Ch 2, turn.
Row 106- Skip first sc, 1 sc in next ch-sp, ch 1, *skip next sc, 1 sc in next ch sp, rep from * across. Fasten off Turqua, weave in ends.
Set scarflet aside for a little bit.
Triangle Edges- (Make 2)
With Bikini, Ch 4, sl st to join rnd.
Rnd 1- Ch 3, 2 dc in chain, ch 2, 3 dc in chain, ch 4, turn.
Rnd 2- 2 dc in fourth ch from hook, ch 2, 3 dc, ch 2, 3 dc in next ch-2 sp, ch 2, 3 dc in last dc of row. Ch 4, turn.
Rnd 3- 2 dc in fourth ch from hook, ch 2, 3 dc, ch 2, 3 dc in next ch-2 sp, ch 2, 3 dc, ch 2, 3 dc in ch-sp of central ch, ch 2, 3 dc in next ch-sp, 3 dc in last dc of row. Ch 4, turn.
Rnd 4- 2 dc in fourth ch from hook, ch 2, 3 dc, ch 2, 3 dc in next ch-2 sp, ch 2, 3 dc, ch 2, 3 dc in next ch-2 sp, ch 2, 3 dc, ch 2, 3 dc in ch-sp of central shell, ch 2, 3 dc in next ch-sp, ch 2, 3 dc in next ch sp, ch 2, 3 dc in last stitch of row. Fasten off, leaving long tail to sew with.
Thread blunt needle with leftover tail of triangle. Sew one triangle to each end of scarflet. Fasten off, weave in ends.
Gathering Strap-
With Bikini, ch 9.
Row 1- 1 dc in fourth ch from hook and in each ch across. (7 dc) Ch 4, turn.
Row 2- Skip next 2 dc, 1 dc, ch 1, 1 dc in next dc, ch 1, skip next 2 dc, 1 dc in last dc. Ch 4, turn.
Rows 3 to 8- Rep row 2. Ch 3, turn.
Row 9- 1 dc in each dc and in each ch across. (7 dc. Fasten off, leaving long tail to sew with.)
Thread blunt needle with leftover tail and sew strap where you find it comfortable.
Tassels- (Make 2)
With Binkini, cut 6 strands, 12” long per tassel. Fold the yarn in half. Turn the scarflet to the wrong side and attach the tassel as follows: Insert hook under ch space of central shell of triangle edge, insert the hook in the center of the folded yarn and pull the yarn under that ch-sp of central shell forming a loop, using the hook, pass the rest of the yarn through the loop you just formed and tighten up. Repeat with the other tassel.
Trim tassels so that they will have the same size.
Done!

Note-I'm slowly recovering from a serious illness, please bear with me until we really get back to normal. A big thank you to all of you who have sent me get-well wishes! They have been much appreciated!
Do you sometimes feel discouraged? Do you feel that life is very hard for you and that you need or would like to have encouragement that is not fluffy, but based on something solid? Check out this beautiful blog!
Drops of Joy and Sunshine


