

I have long loved the enormity of knitting stitches and their wonderful possibilities and yearned for some way of adapting them to crochet. I have purchased books that promised to teach me the technique of how to convert knitting into crochet and have not gone too far with them for one reason or another. The tutorial series that we begin today will not make you promises it cannot keep. I will not tell you that we will convert crochet into knitting because that is impossible since both are entirely different and even have different gauges and produce different results. What we will be learning is a way of making some beautiful stitches that look knitted and which you can use in some projects you would want to make. Learning this technique will also open for you the possibility of adapting other stitches you might have access to, so that you will have almost unlimited possibilities! This is for those of you who always want to be learning new things and want to keep your craft fresh and interesting!
Note- If you would like to use other sizes of hooks and knitting needles, you must experiment and swatch before you start a project.
Materials-1 set of knitting needles Metric size 3.75, US size 5, UK/Canadian size 9
1 crochet hook size F (3.75 mm)
Worsted weight yarn of your choice (for practice, it could be scraps)
Beginning- You could use either one of the following ways to mount your stitches onto the knitting needle to start practicing:
1- Leaving a length of yarn hanging at the start approximately 4 inches longer than the size of your swatch, make a slip knot as if you were going to begin crocheting.
2- Insert that slip knot into the knitting needle, wrap the yarn from the ball or skein you are using around your left thumb, then grasping the yarn firmly between your palm and back fingers, turn your thumb so that the back of it is facing you, insert the knitting needle, front to back through the loop that has formed by twisting your thumb, slip your thumb out of the loop, while at the same time you pull the yarn downward to close the loop around the knitting needle. Repeat step 2 as many times as needed to form the stitches you will need. Working yarn must be on the side of the tip of the knitting needle when you're done.
The second way in which you can do is my favorite. Frankly, I find it easier and you will never have too much or too little yarn hanging at the beginning!
1. Make a slip knot and start a normal crochet chain. Make as many chs as you will need to complete your swatch or the ammount of stitches you will need.
2. Insert every ring of the chain already made into the knitting needle. Working yarn must be on the side of the tip of the knitting needle when you're done.
Basic Knitting Language and Abbreviations-
K= Knit
K1= Knit 1 stitch
P =Purl
P1= Purl 1 stitch
YO= Yarn Over
Yf= yarn in front (can also be written: YiF or Yfwd= yarn forward)
Yb= yarn to back
S1= Slip 1 stitch, usually done with needles tip to tip or in a purlwise manner
PSSO= Pass Slip Stitch Over
K2tog= Knit 2 sts together (decreases 1 stitch)
Knitting and purling are the basis of all knitting stitches, with variations, if you know how to knit and purl, you can make an endless variety of beautiful stitches.
We will not be making garments in these tutorials, but I will teach you how to make swatches of stitches you could later use. You can also make your swatches longer and make scarves out of them. You can make perfect squares and use them for afghans of for any granny square-style project, combining them with regular crochet stitches or just using knit-crochet kind of stitches, it is up to you.
To learn our basic stitches, we will be making an even number of sts.
Casting On- With F hook and worsted weight yarn, ch 20.
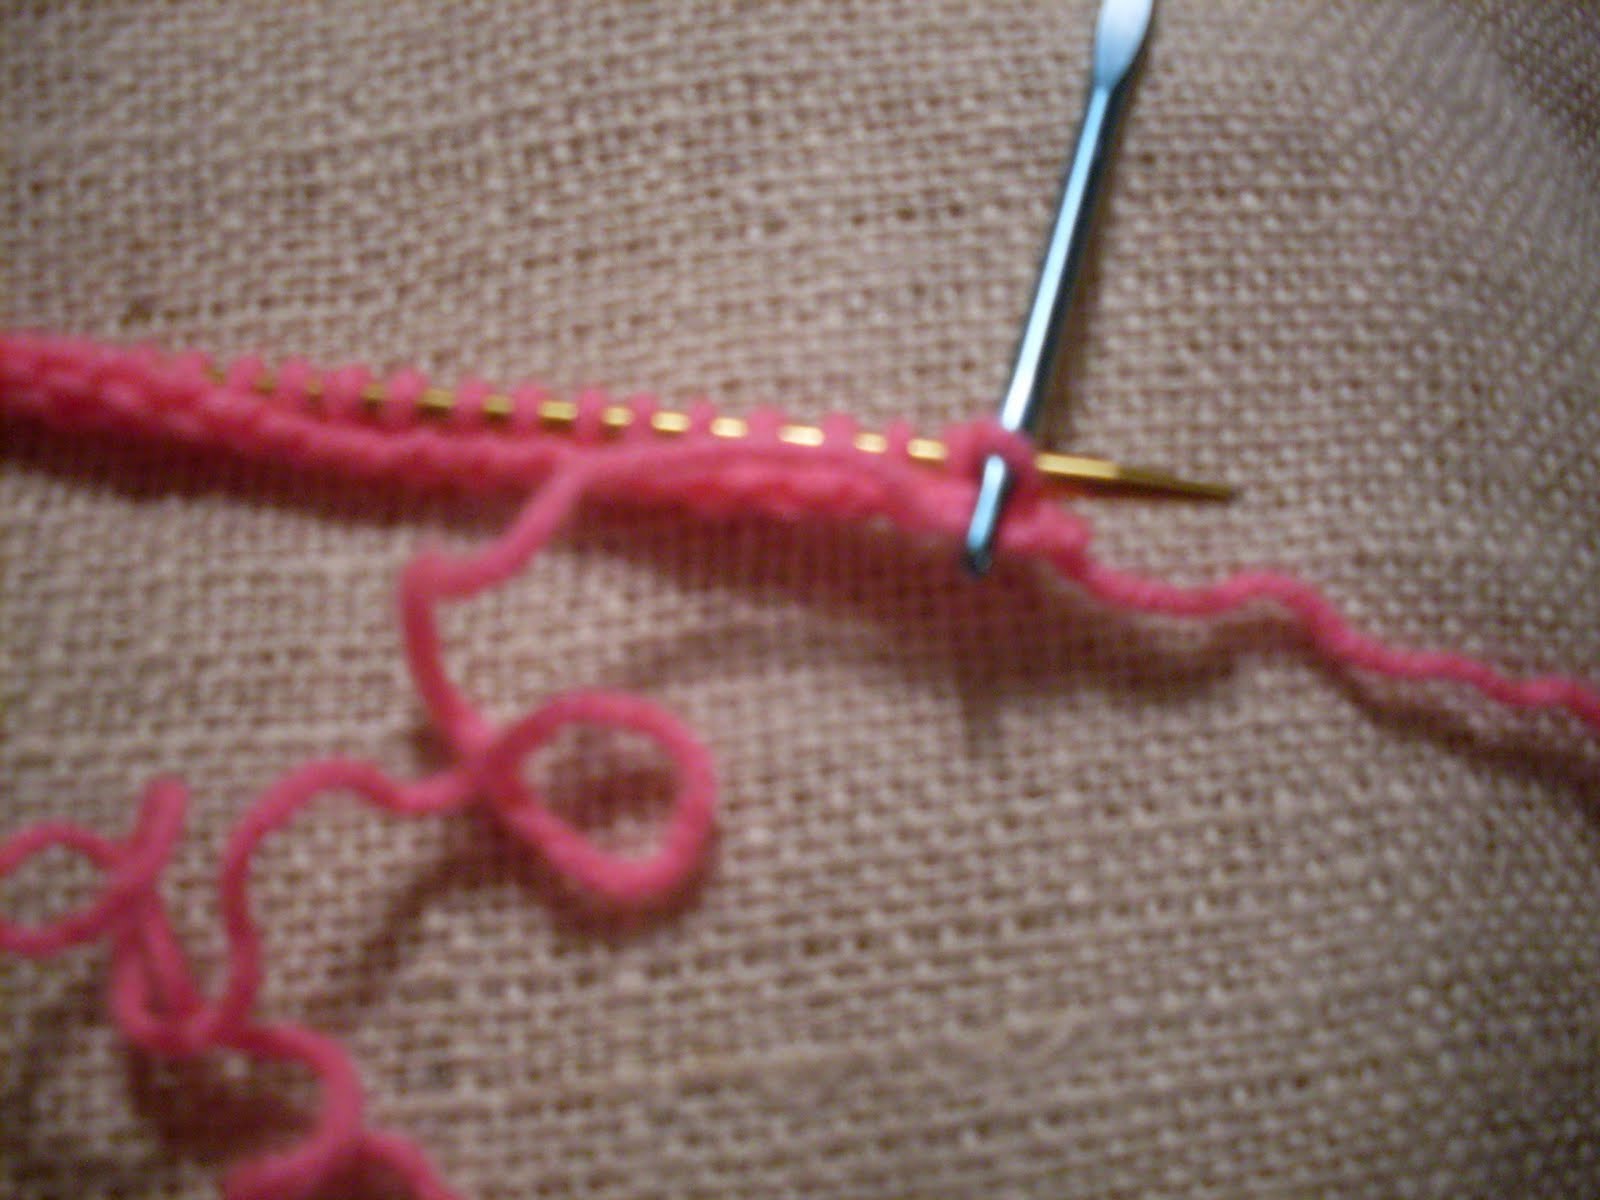
Insert last loop of chin into tip of knitting needle. Then, taking your F hook, insert the hook into the next ch and pull up a loop, insert yarn of pulled loop into tip of knitting needle, pull yarn to adjust size of stitch. Rep till all your chain has been worked and you have 20 loops hanging on the knitting needle. This is what they are supposed to look like:


Knit Stitch- This is one of the two basic knitting stitches. Now that you have cast on your 20 sts, you will turn the knitting needle so that the back is facing you, as if you had finished a row in crochet and were going to work across the back to make the second row, only that the cast on does not count as a row but as it were, as the basic "chain" or foundation of your stitches.
Row 1- Insert hook vertically, and pull up a loop, insert that loop into the tip of the second knitting needle. Now insert your hook sideways in next st, wrap yarn around hook and pull yarn through loop on knitting needle, with loop on hook, insert that loop into the second knitting needle, adjust loop so that it will not be too loose. Repeat this same step all across the row.


Ridges-
Take a look at your stitches, you will notice that you have a row underneath that is make of "knit" stitches, which formed naturally when you
did your cast on, and 1 row of "purl" stitches. This is the beginning of your ridges.
Row 2- Insert F hook in first loop on knitting needle and pull up a loop, insert that loop in second knitting needle. Insert hook in next loop hanging on knitting needle and pull up a loop,
insert that loop formed into second knitting needle (these are knit sts you are making), rep across. Now all your stitches are loops hanging on the second knitting needle.
Row 3- Rep row 2 across second knitting needle.
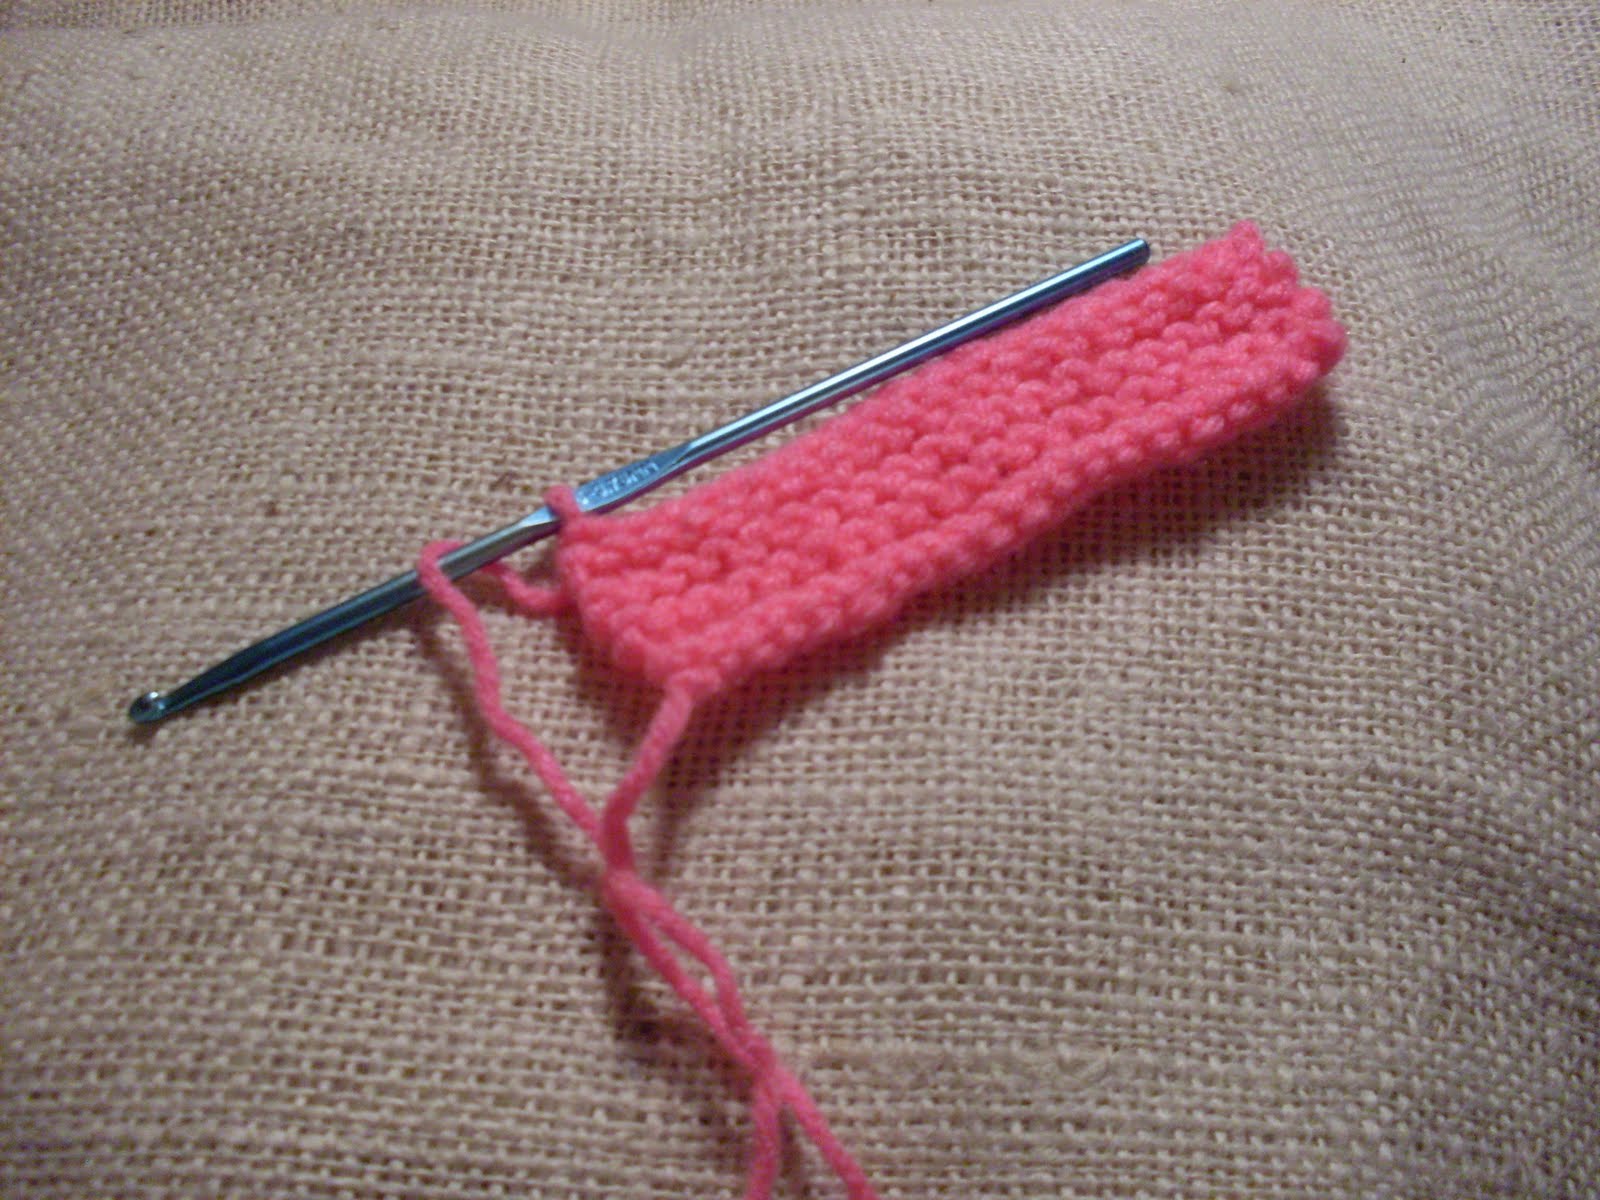
Continue repeating rows 2 and 3 until you have the length you want for your swatch or until you have learned these stitches by heart. The pattern will form ridges which in knitting terms are called "Garter Stitch".
This stitch will make a very nice scarf also a pretty square for any afghan or for a top made in the old-fashioned granny square mold.


Cast off- To cast your stitches off the knitting needle to complete your swatch, or your granny square, proceed as follows:
Insert hook in first loop hanging on knitting needle and pull up loop, yo, insert hook into next loop in knitting needle and pull loop through both loops on hook in a slip stitch fashion, insert hook into next loop, pull loop and bring that loop through both loops on hook, continue in this manner until you have only one loop left on the knitting needle, insert that loop into your hook and fasten off as you usually do for crochet.


You just learned how to do garter stitch using a hook assisted by knitting needles!

.....................................................
Do you sometimes feel discouraged? Do you feel that life is very hard for you and that you need or would like to have encouragement that is not fluffy, but based on something solid? Check out this beautiful blog!
Drops of Joy and Sunshine
Note- If you would like to use other sizes of hooks and knitting needles, you must experiment and swatch before you start a project.
Materials-1 set of knitting needles Metric size 3.75, US size 5, UK/Canadian size 9
1 crochet hook size F (3.75 mm)
Worsted weight yarn of your choice (for practice, it could be scraps)
Beginning- You could use either one of the following ways to mount your stitches onto the knitting needle to start practicing:
1- Leaving a length of yarn hanging at the start approximately 4 inches longer than the size of your swatch, make a slip knot as if you were going to begin crocheting.
2- Insert that slip knot into the knitting needle, wrap the yarn from the ball or skein you are using around your left thumb, then grasping the yarn firmly between your palm and back fingers, turn your thumb so that the back of it is facing you, insert the knitting needle, front to back through the loop that has formed by twisting your thumb, slip your thumb out of the loop, while at the same time you pull the yarn downward to close the loop around the knitting needle. Repeat step 2 as many times as needed to form the stitches you will need. Working yarn must be on the side of the tip of the knitting needle when you're done.
The second way in which you can do is my favorite. Frankly, I find it easier and you will never have too much or too little yarn hanging at the beginning!
1. Make a slip knot and start a normal crochet chain. Make as many chs as you will need to complete your swatch or the ammount of stitches you will need.
2. Insert every ring of the chain already made into the knitting needle. Working yarn must be on the side of the tip of the knitting needle when you're done.
Basic Knitting Language and Abbreviations-
K= Knit
K1= Knit 1 stitch
P =Purl
P1= Purl 1 stitch
YO= Yarn Over
Yf= yarn in front (can also be written: YiF or Yfwd= yarn forward)
Yb= yarn to back
S1= Slip 1 stitch, usually done with needles tip to tip or in a purlwise manner
PSSO= Pass Slip Stitch Over
K2tog= Knit 2 sts together (decreases 1 stitch)
Knitting and purling are the basis of all knitting stitches, with variations, if you know how to knit and purl, you can make an endless variety of beautiful stitches.
We will not be making garments in these tutorials, but I will teach you how to make swatches of stitches you could later use. You can also make your swatches longer and make scarves out of them. You can make perfect squares and use them for afghans of for any granny square-style project, combining them with regular crochet stitches or just using knit-crochet kind of stitches, it is up to you.
To learn our basic stitches, we will be making an even number of sts.
Casting On- With F hook and worsted weight yarn, ch 20.
Insert last loop of chin into tip of knitting needle. Then, taking your F hook, insert the hook into the next ch and pull up a loop, insert yarn of pulled loop into tip of knitting needle, pull yarn to adjust size of stitch. Rep till all your chain has been worked and you have 20 loops hanging on the knitting needle. This is what they are supposed to look like:


Knit Stitch- This is one of the two basic knitting stitches. Now that you have cast on your 20 sts, you will turn the knitting needle so that the back is facing you, as if you had finished a row in crochet and were going to work across the back to make the second row, only that the cast on does not count as a row but as it were, as the basic "chain" or foundation of your stitches.
Row 1- Insert hook vertically, and pull up a loop, insert that loop into the tip of the second knitting needle. Now insert your hook sideways in next st, wrap yarn around hook and pull yarn through loop on knitting needle, with loop on hook, insert that loop into the second knitting needle, adjust loop so that it will not be too loose. Repeat this same step all across the row.


Ridges-
Take a look at your stitches, you will notice that you have a row underneath that is make of "knit" stitches, which formed naturally when you
did your cast on, and 1 row of "purl" stitches. This is the beginning of your ridges.
Row 2- Insert F hook in first loop on knitting needle and pull up a loop, insert that loop in second knitting needle. Insert hook in next loop hanging on knitting needle and pull up a loop,
insert that loop formed into second knitting needle (these are knit sts you are making), rep across. Now all your stitches are loops hanging on the second knitting needle.
Row 3- Rep row 2 across second knitting needle.
Continue repeating rows 2 and 3 until you have the length you want for your swatch or until you have learned these stitches by heart. The pattern will form ridges which in knitting terms are called "Garter Stitch".
This stitch will make a very nice scarf also a pretty square for any afghan or for a top made in the old-fashioned granny square mold.


Cast off- To cast your stitches off the knitting needle to complete your swatch, or your granny square, proceed as follows:
Insert hook in first loop hanging on knitting needle and pull up loop, yo, insert hook into next loop in knitting needle and pull loop through both loops on hook in a slip stitch fashion, insert hook into next loop, pull loop and bring that loop through both loops on hook, continue in this manner until you have only one loop left on the knitting needle, insert that loop into your hook and fasten off as you usually do for crochet.


You just learned how to do garter stitch using a hook assisted by knitting needles!

.....................................................
Do you sometimes feel discouraged? Do you feel that life is very hard for you and that you need or would like to have encouragement that is not fluffy, but based on something solid? Check out this beautiful blog!
Drops of Joy and Sunshine


3 comments:
You should look up knooking (http://knooking.wordpress.com/). It's knitting with a single crochet hook with a long cord attached to the end. You can use the same hand movements that you do with crochet.
Also, check out slip stitch crochet (http://new.slipstitchcrochet.com/). You can get very similar feel and drape as knitting, but with actual crochet stitches. It shows you that knitting and crochet really aren't completely different, just opposite ends of the same continuum.
Thank you earthnut for the info! Never heard about knooking before! Still, I have a tendency to do my own thing and that's why I was sharing a way in which you can get to knit with a crochet hook with pretty easy to find things. I don't know how easy to find knooking hooks might be for some, but knitting needles and common hooks are pretty easy to get a hold of. Still, I will look into the links. Thank you again, very much!
In Portugal, knitting is (or was) done with two hooked knitting needles - essentially two afghan hooks. So, if you want to knit with hooks, why not?
For casting on, take a look at a video or two on 'crochet hook cast-on'. It gives you the best (in my opinion) all-purpose cast-on. I just wish I'd learned it a few decades sooner!
Post a Comment